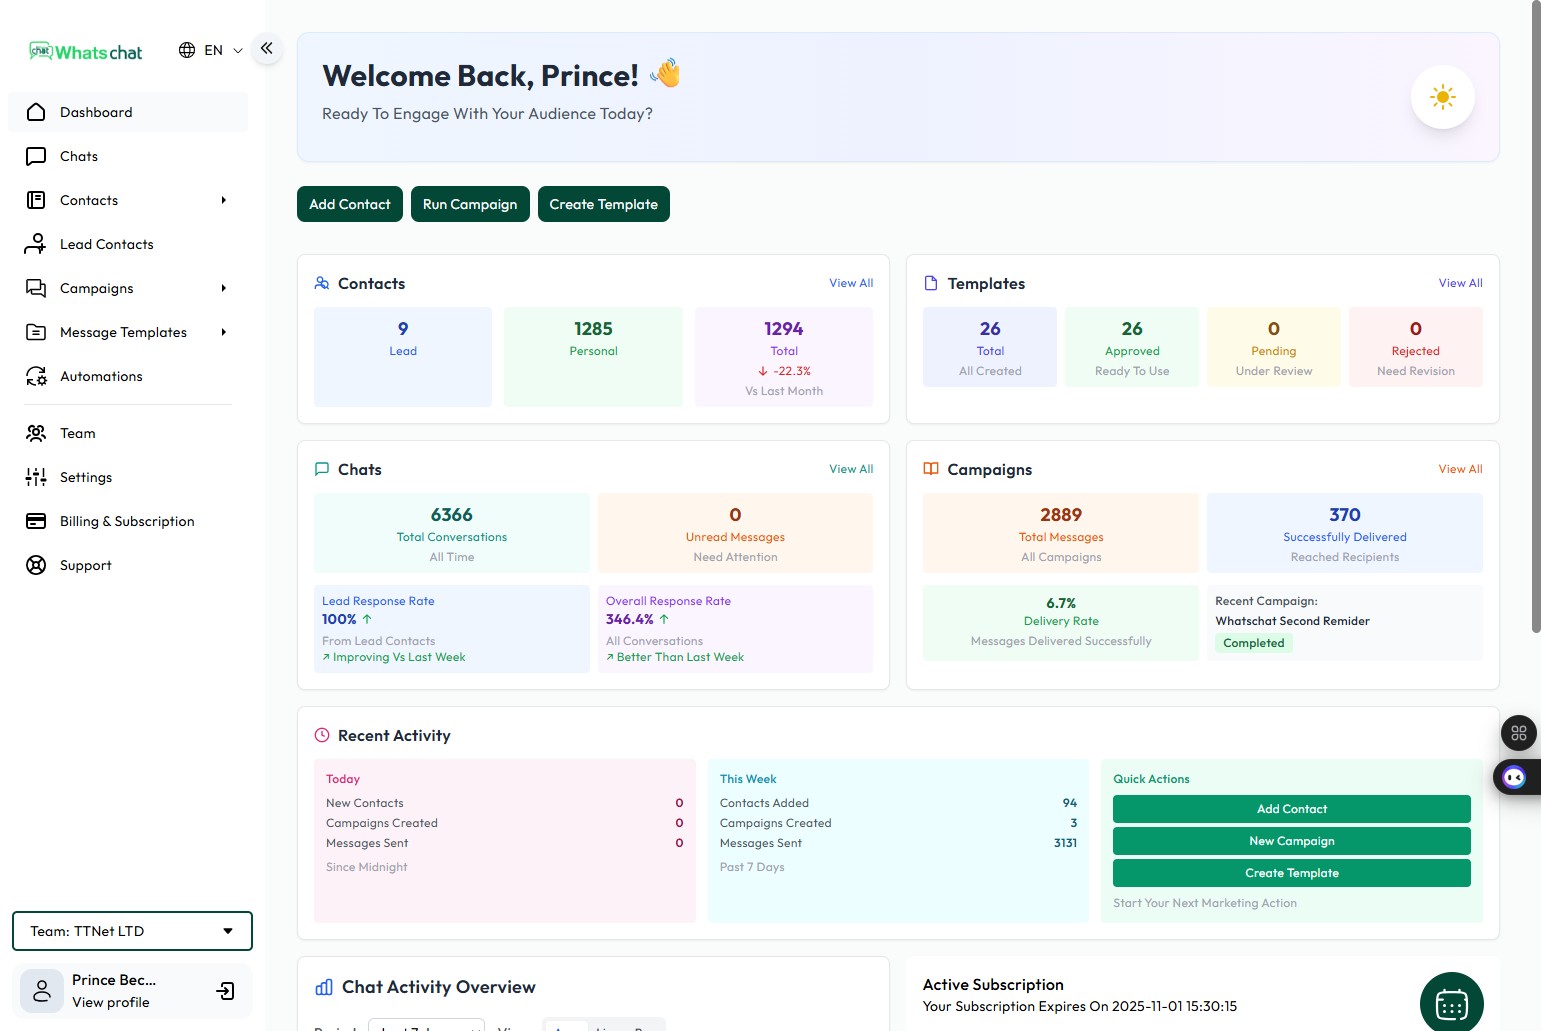
Step1: Navigate to you “Dashboard” https://business.whatschatads.com/dashboard
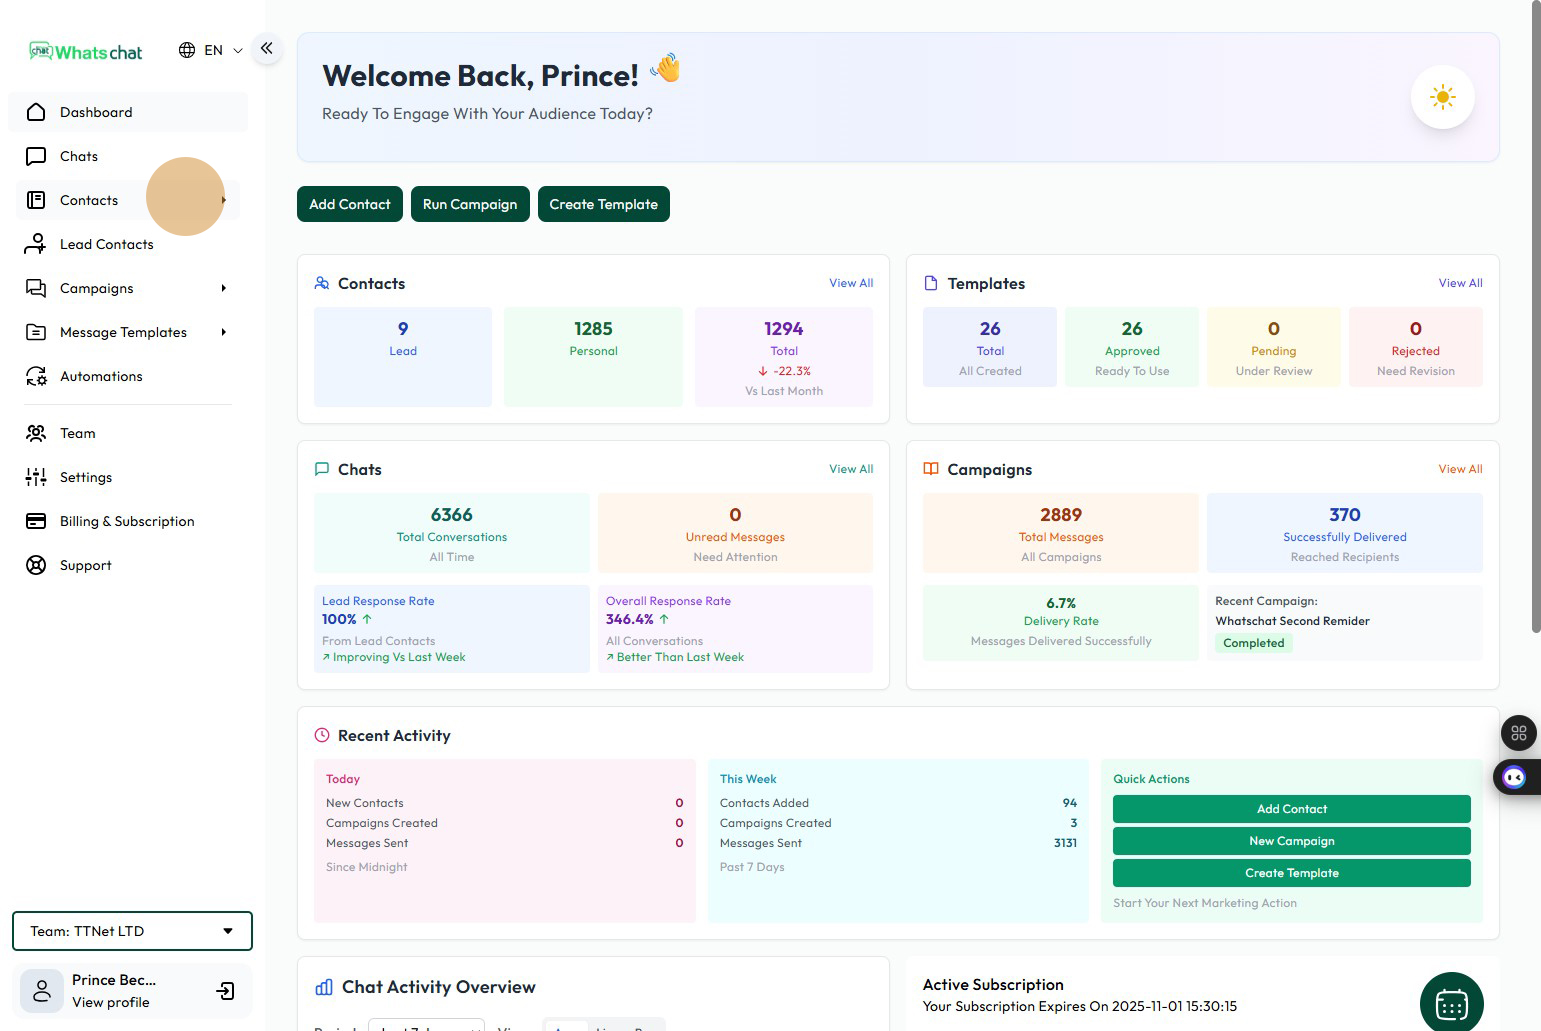
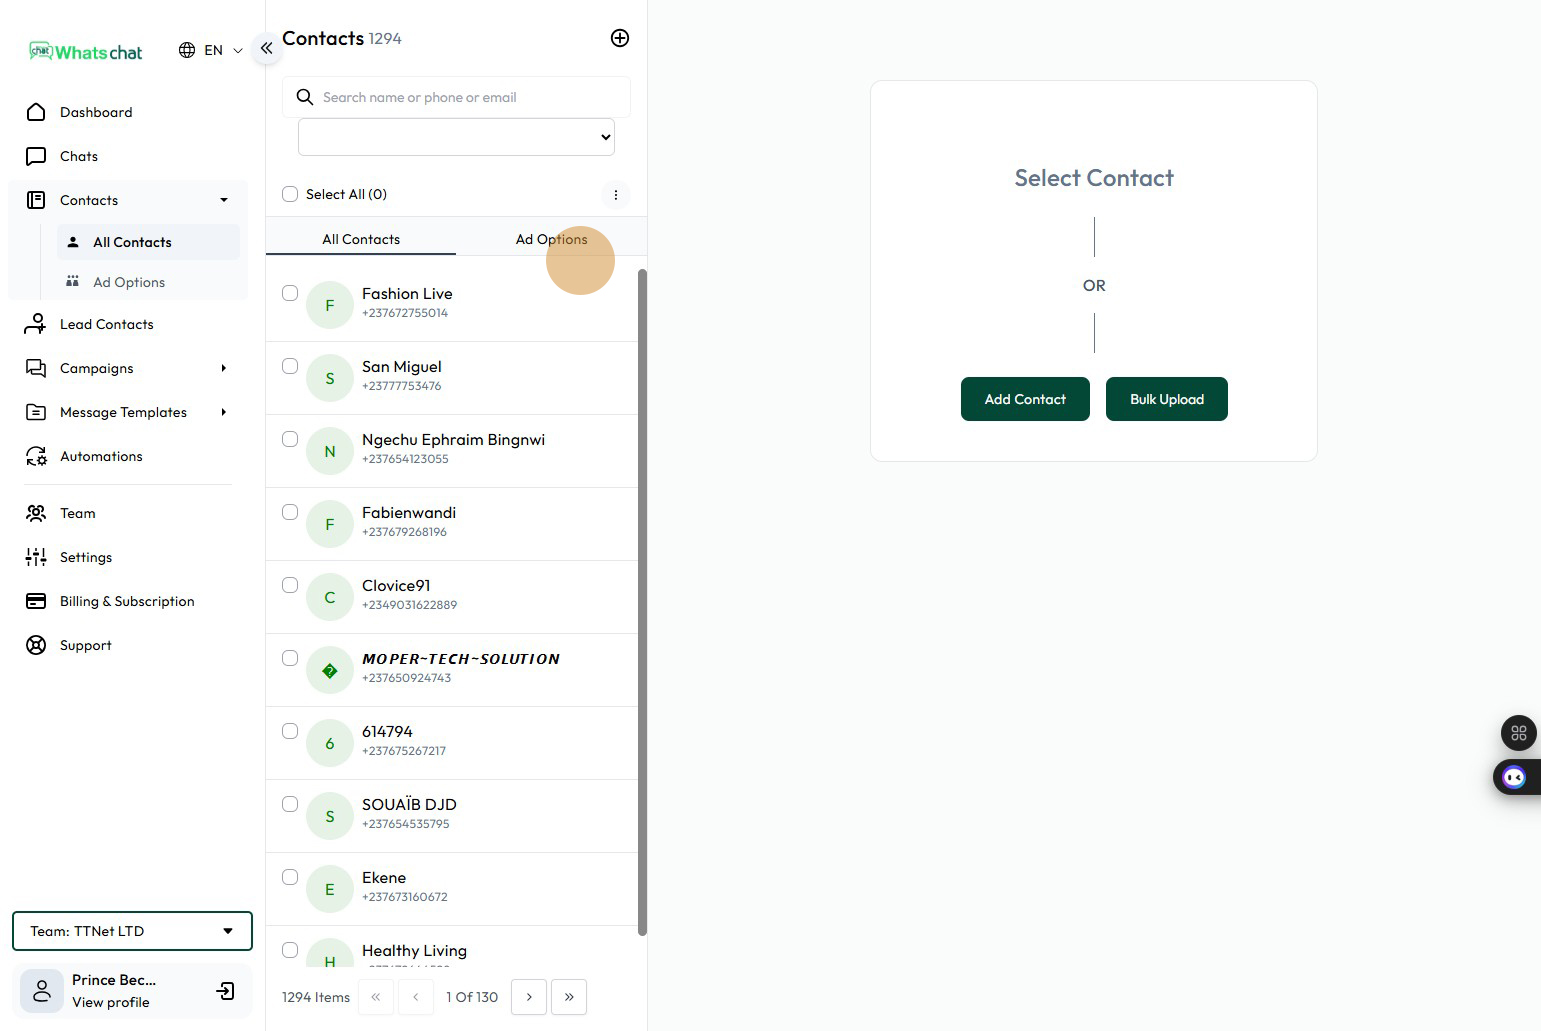
Step 2: Click “Contacts”
Step 3: Click “All Contacts”
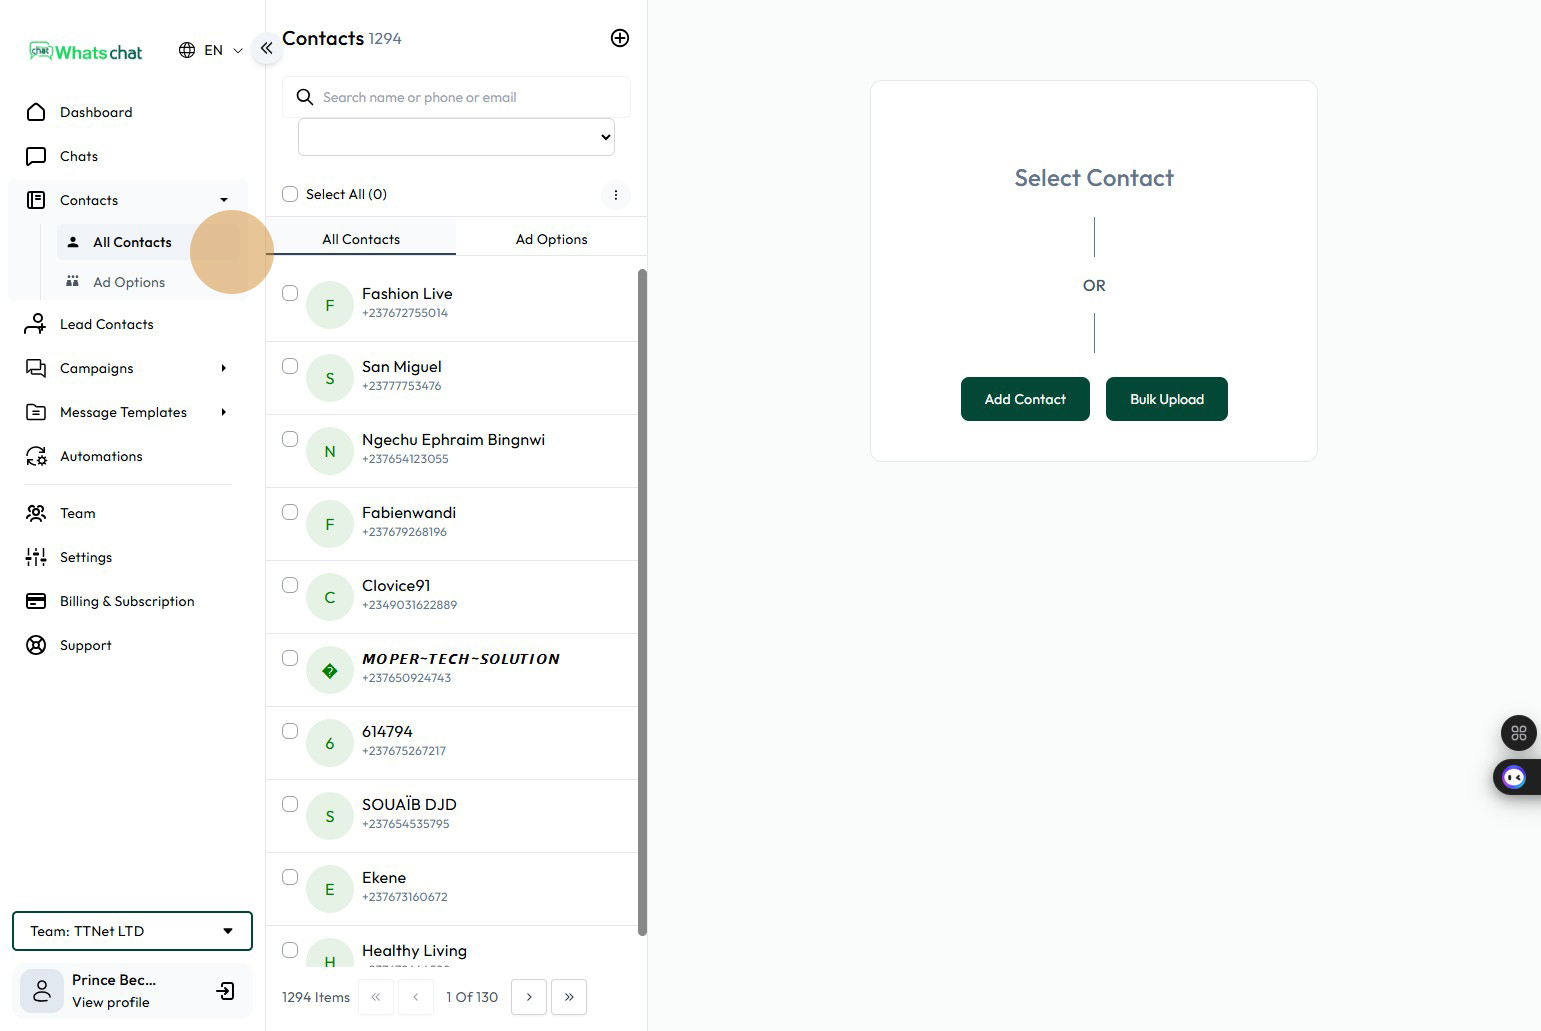
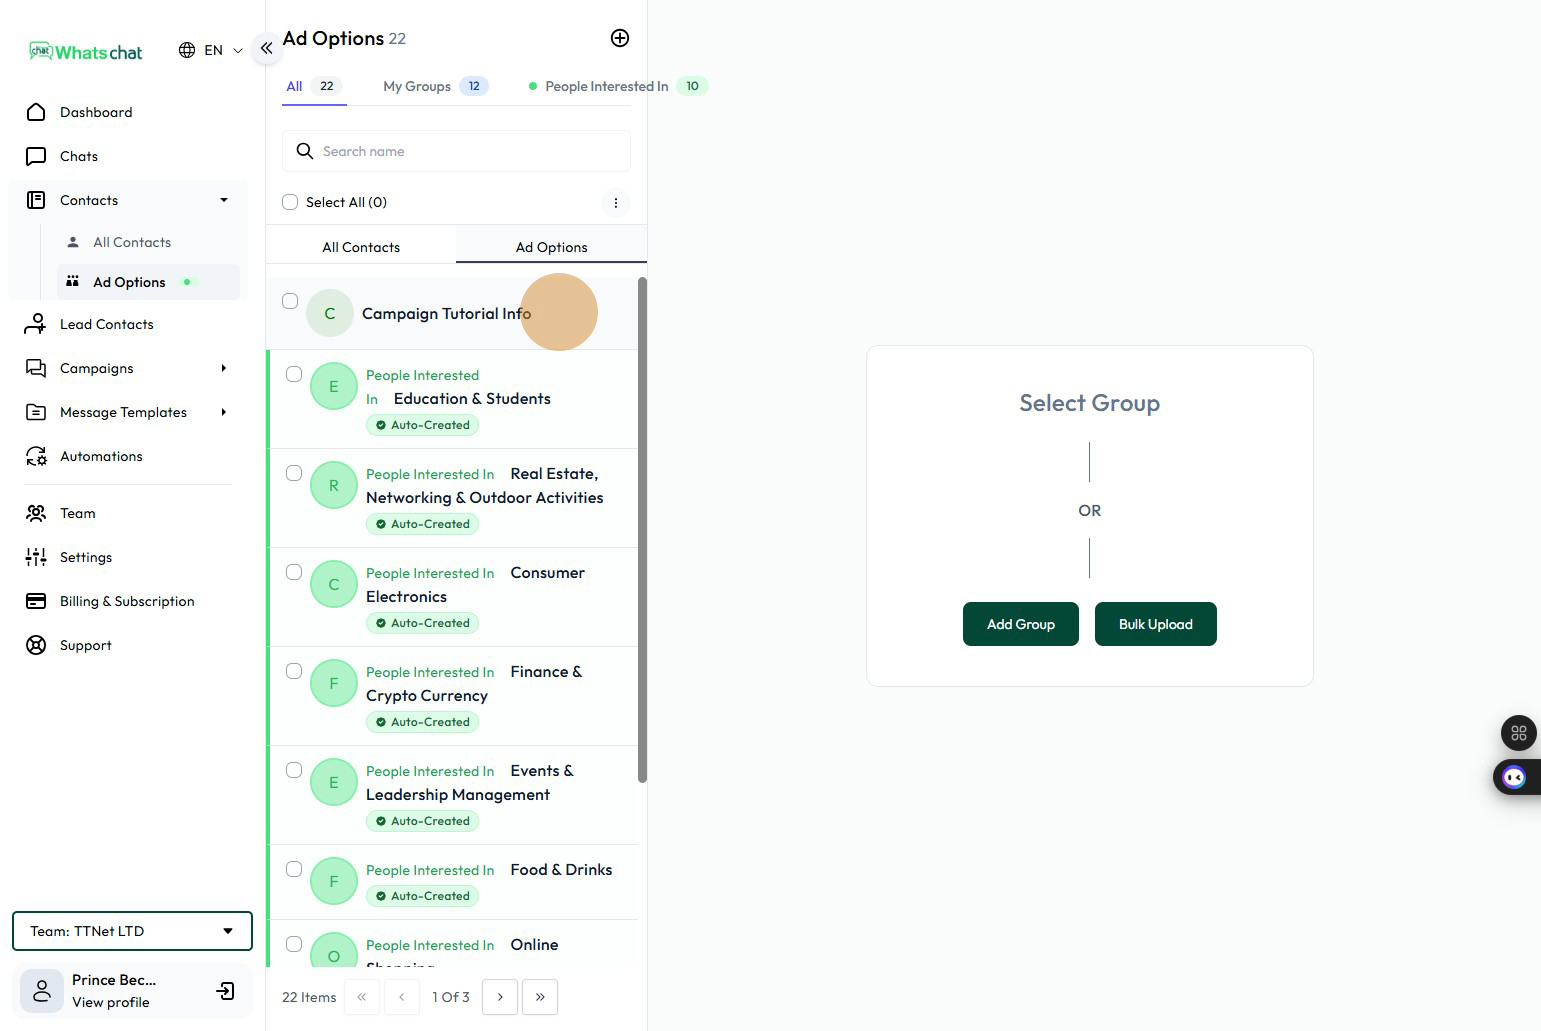
Step 4 :Click the “Ad Options” button to view all the groups/ad options you can run a campaign to
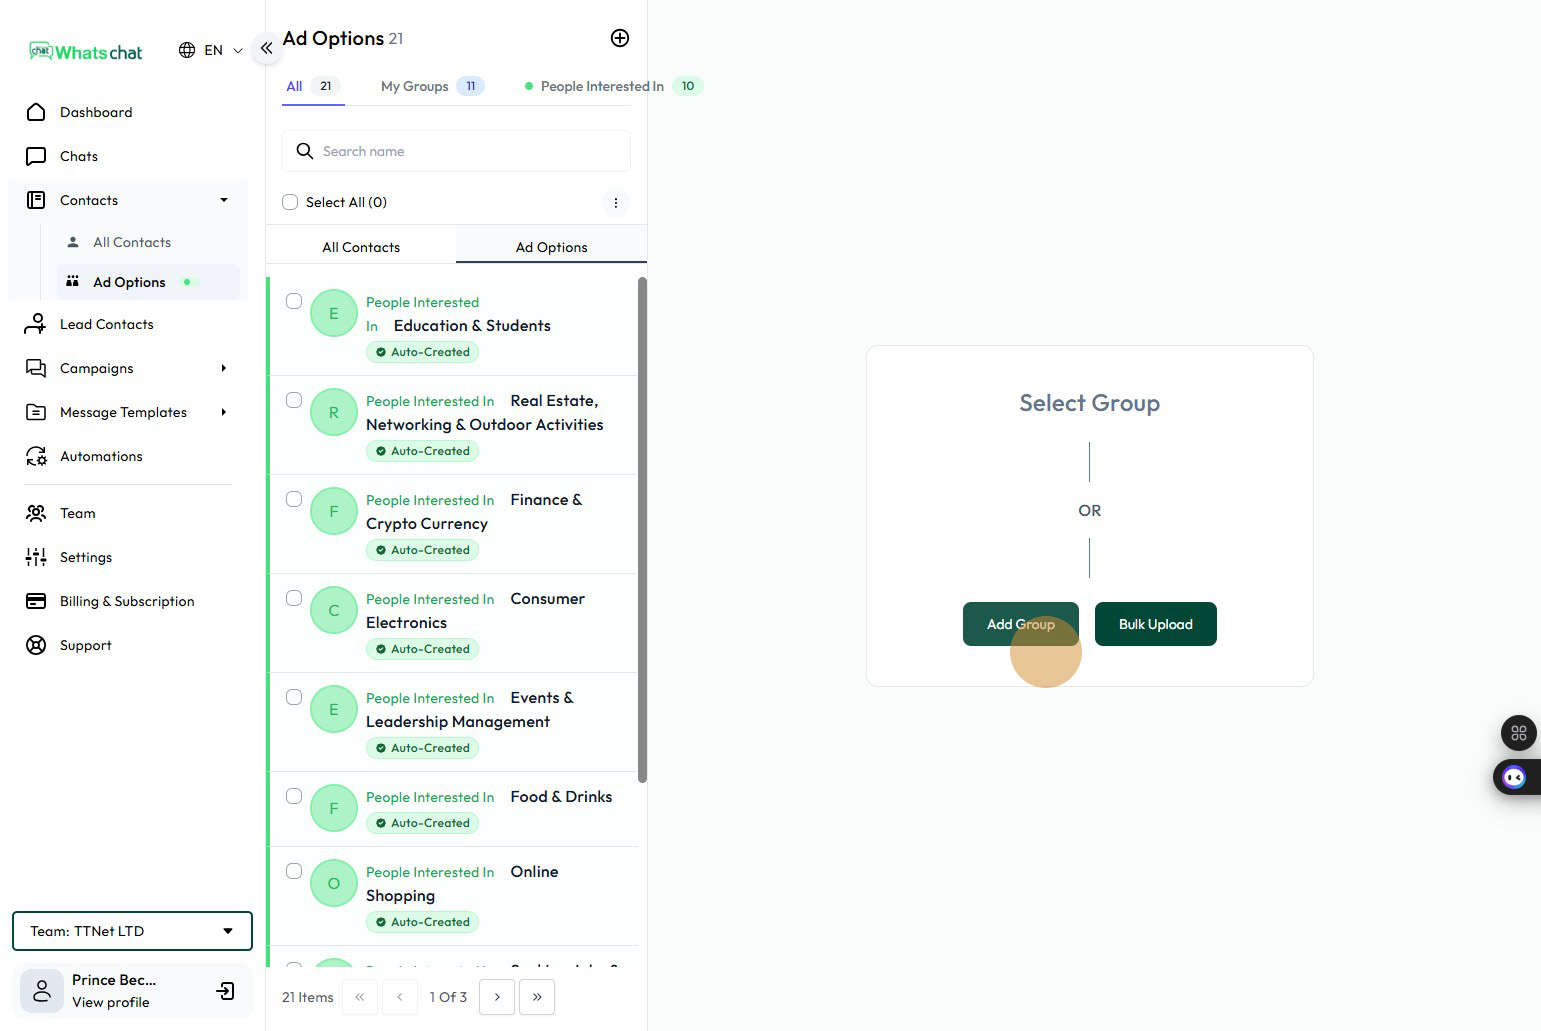
Step 5 : Click the “Ad Options” button to view all the groups/ad options you can run a campaign to
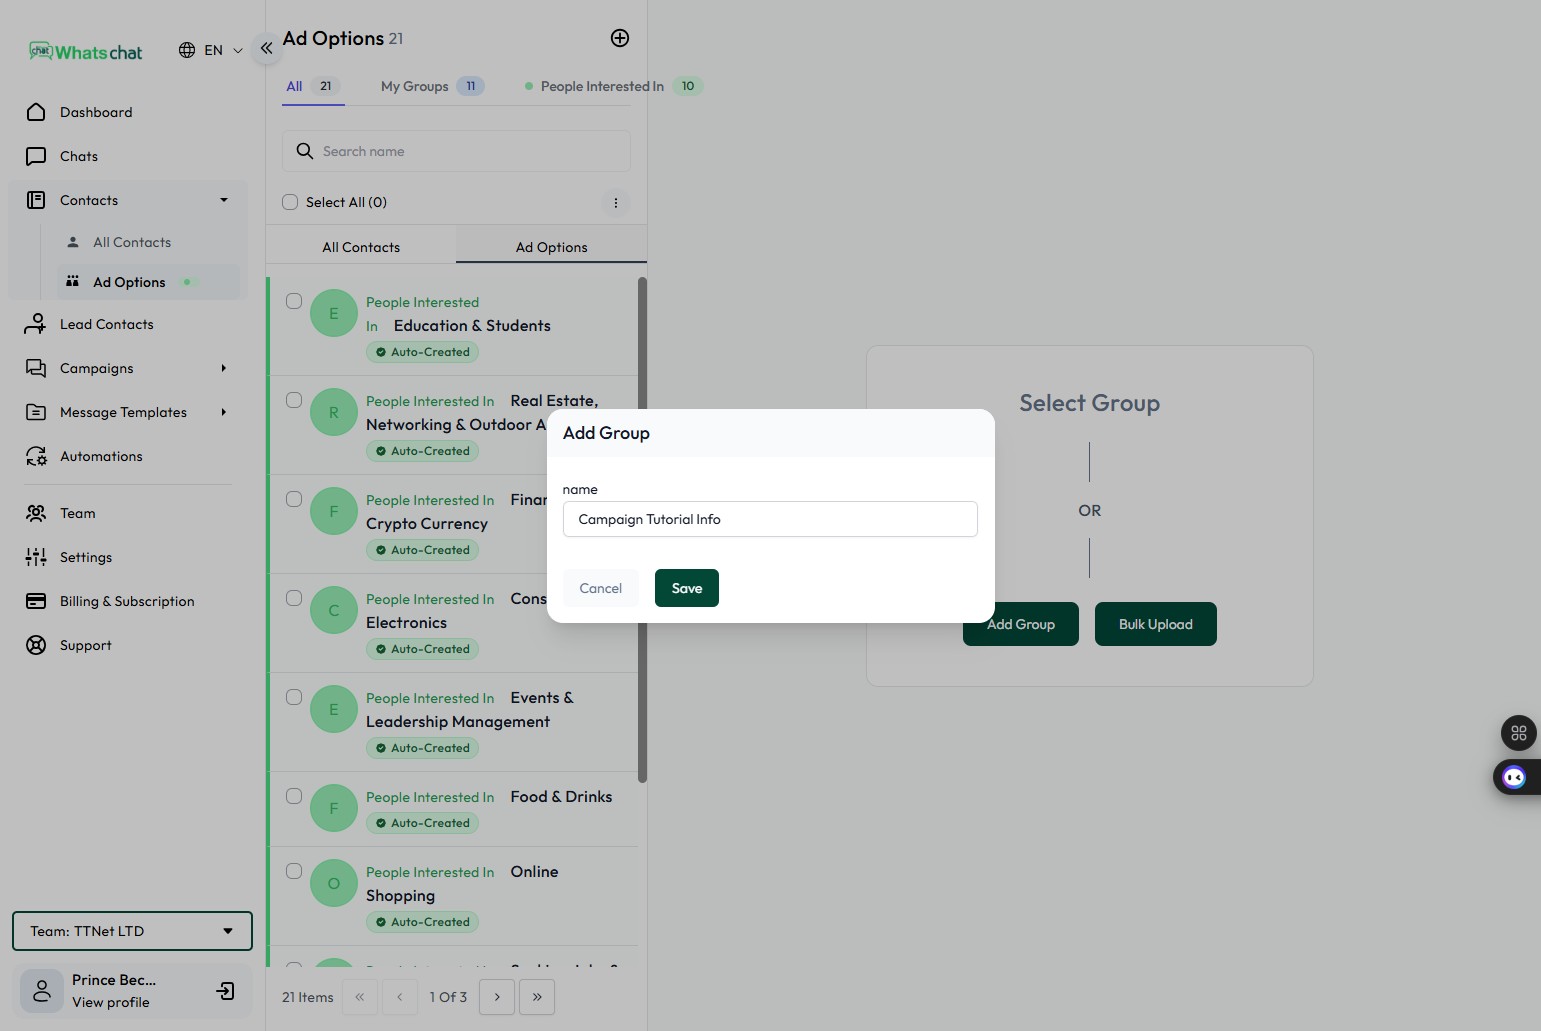
Step 6 : Type in the “group/ad option name”
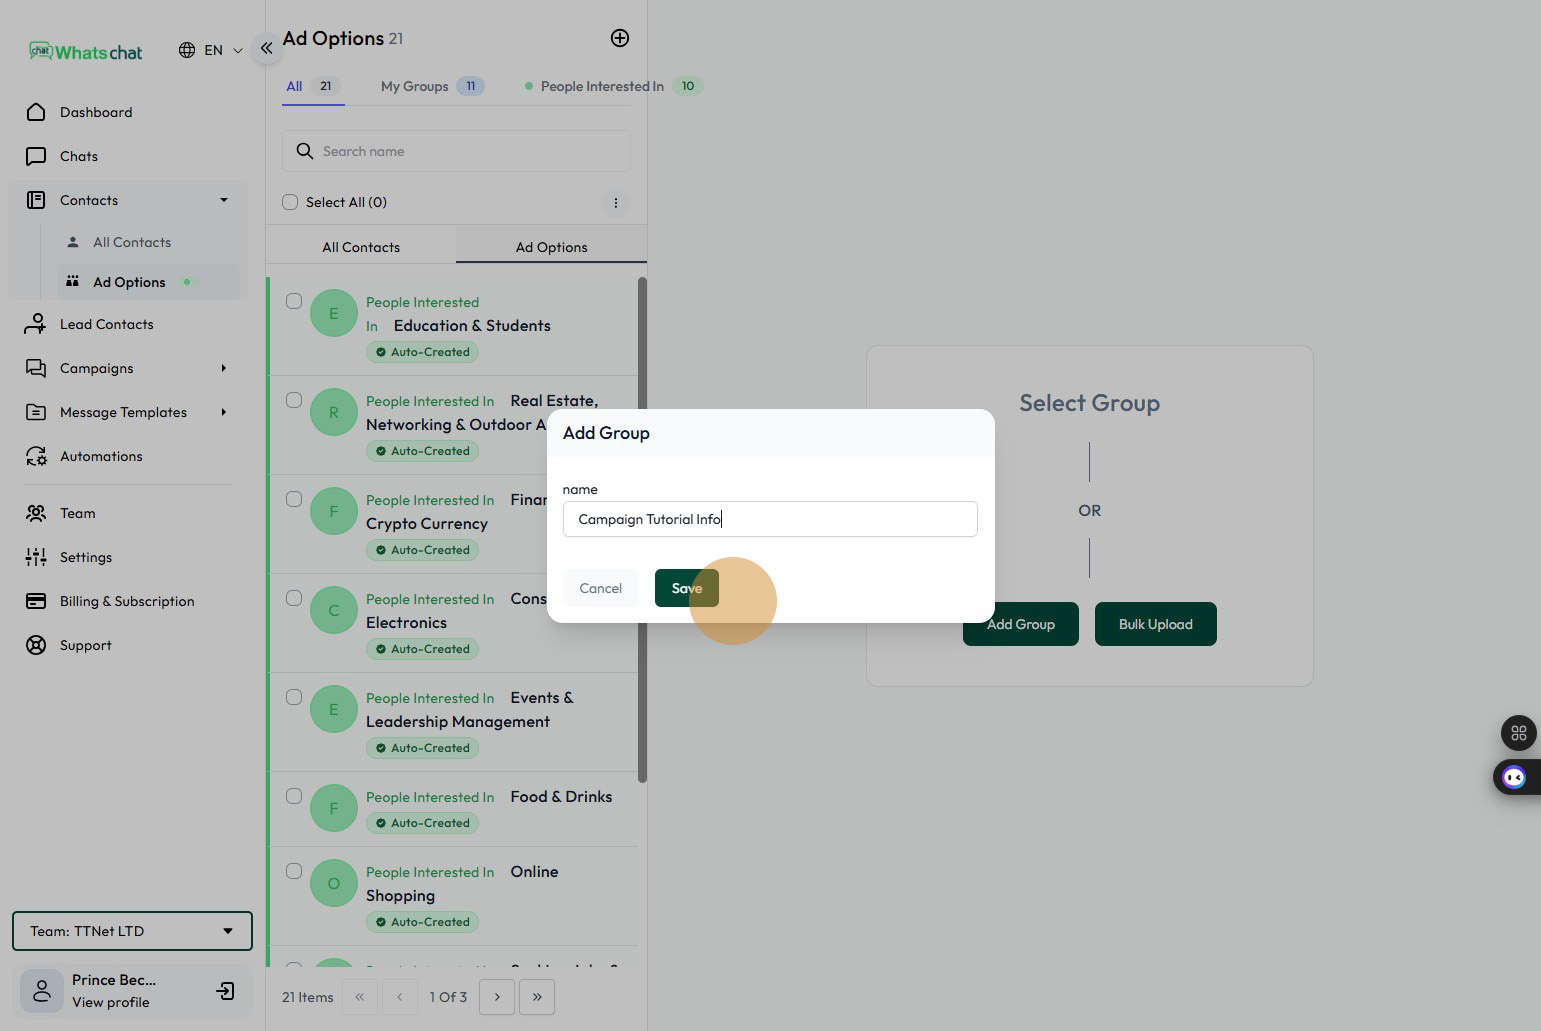
Step 7: Click the “Save” button
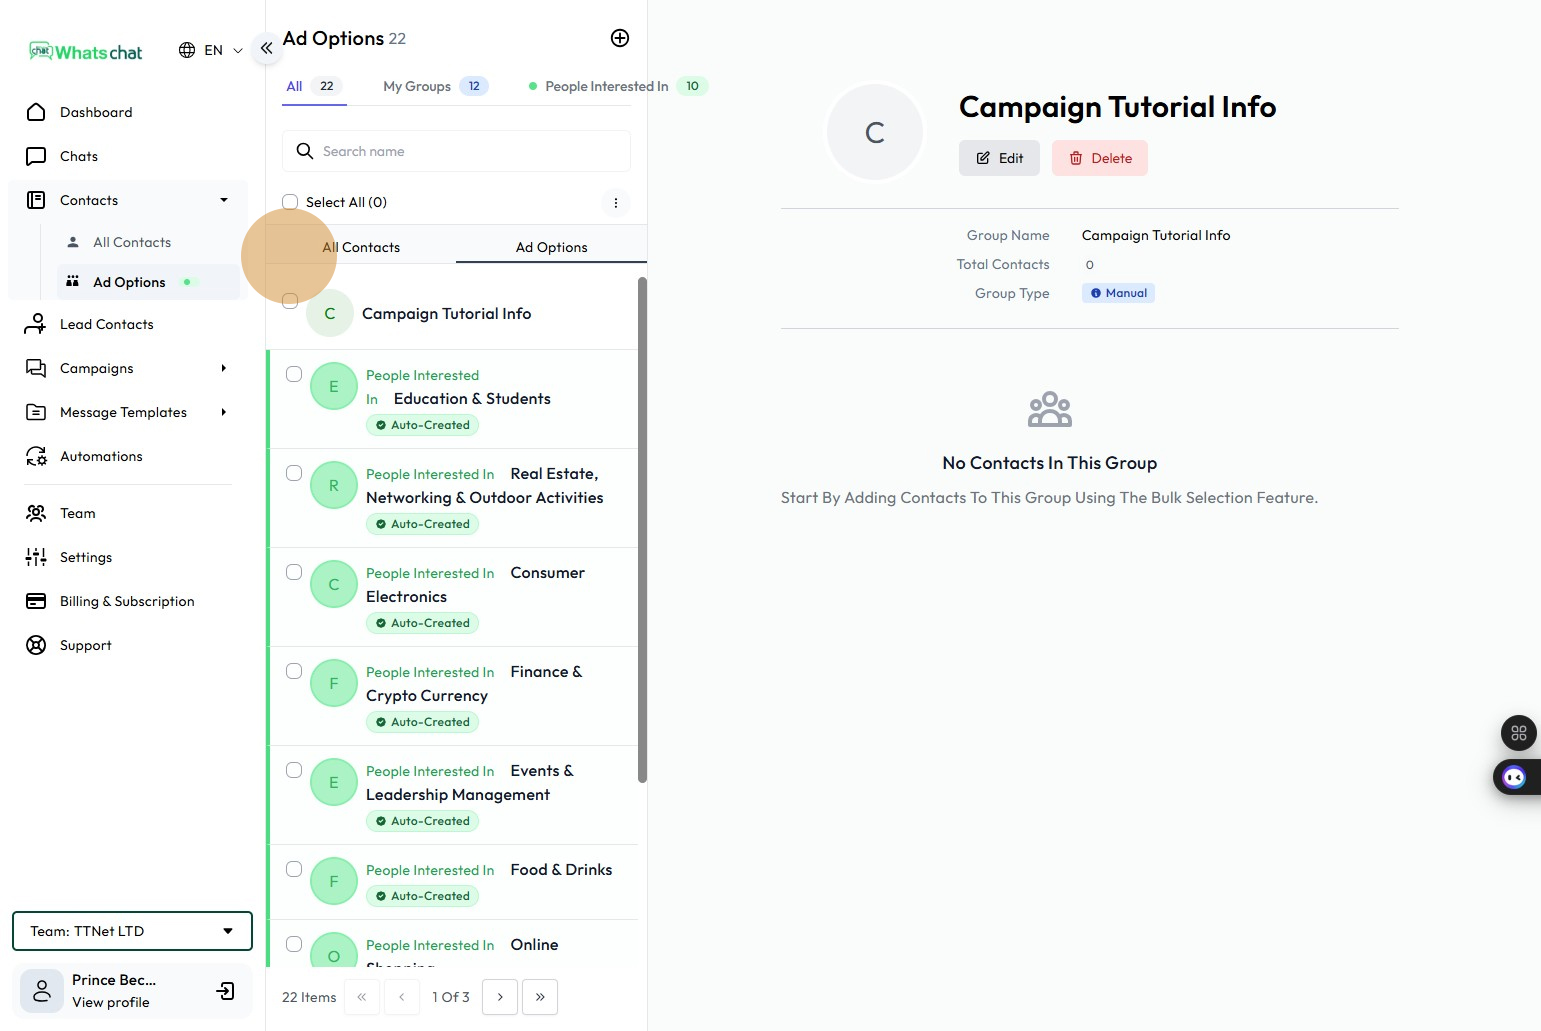
Step 8: New Group Created, Click on new group to see what’s inside.

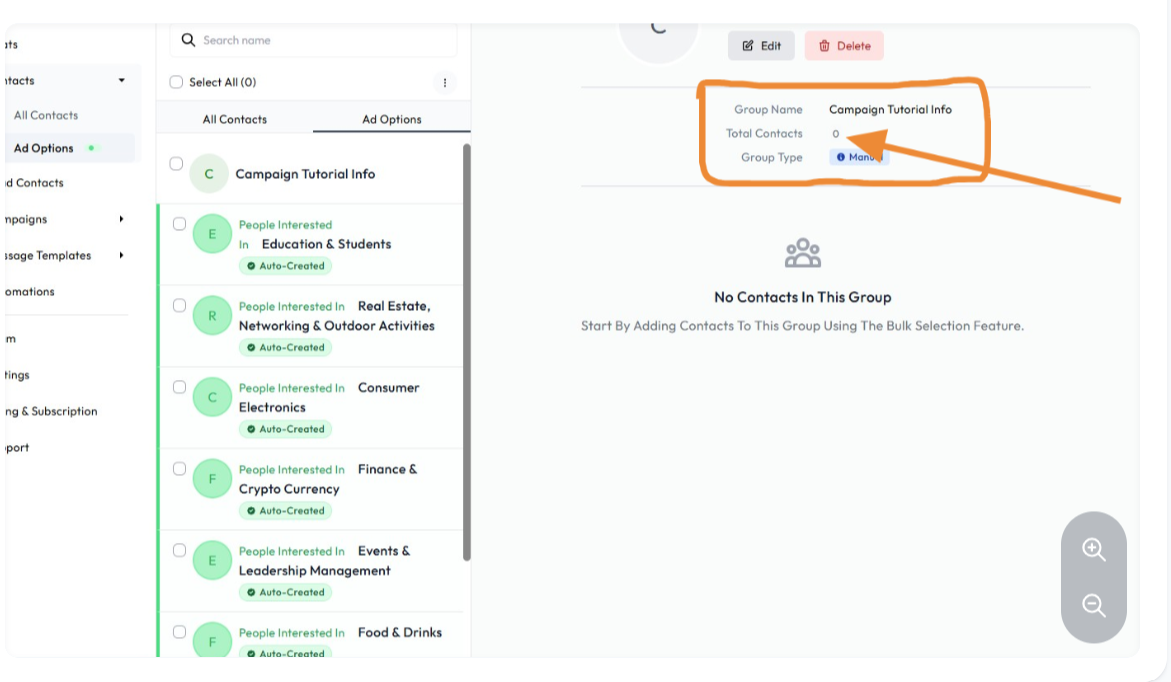
Step 9: The new group created has “0 Contacts”
Step 10: Click “All Contacts” tab
Step 10: Click “All Contacts” tab
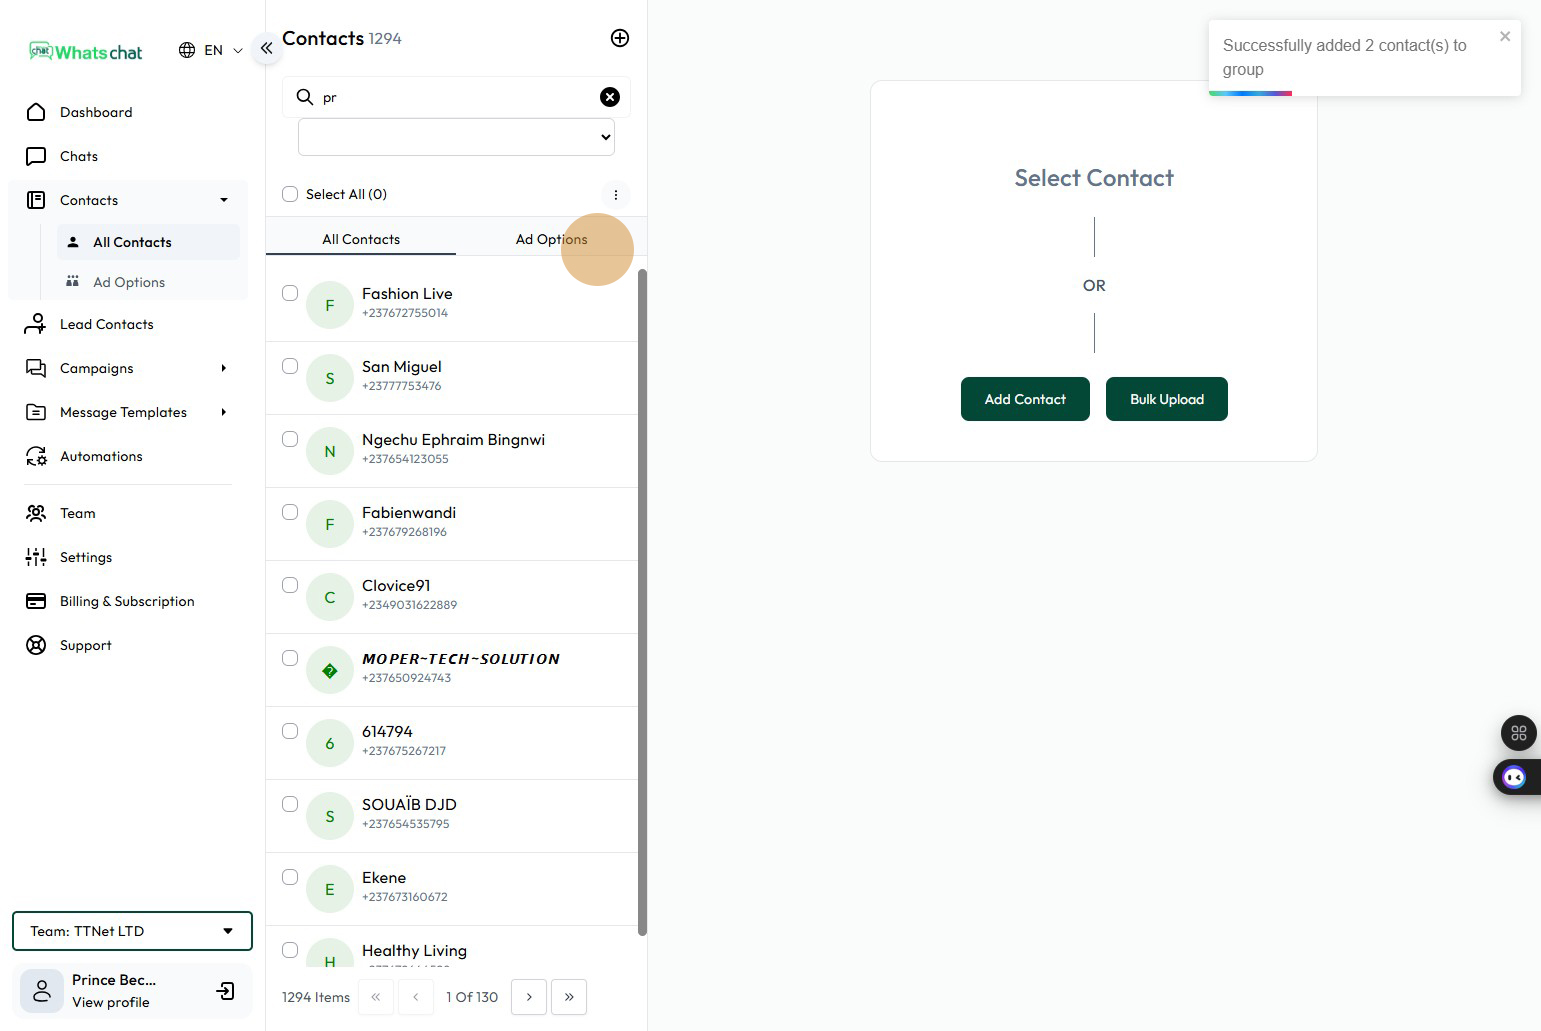
Step 11: Now select contacts, you’ll like to add to the new group you just created
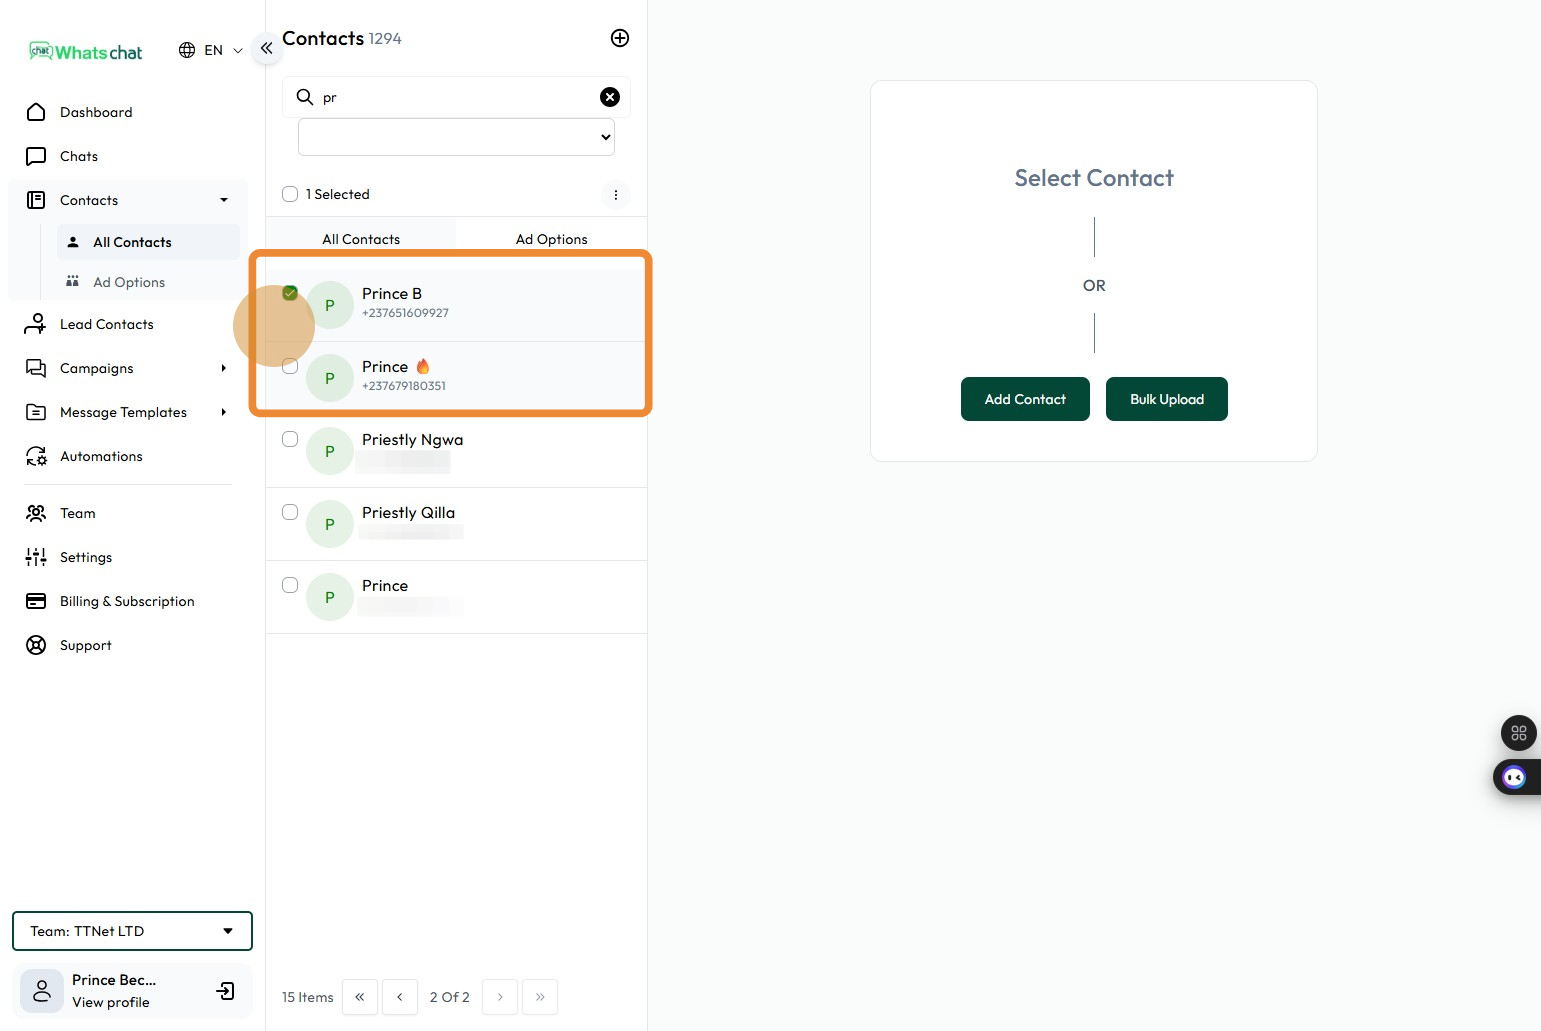
Step 12: Click the “Add to Group” button

Step 13: Select the group you want to add contacts to and click the “Add to Group” button
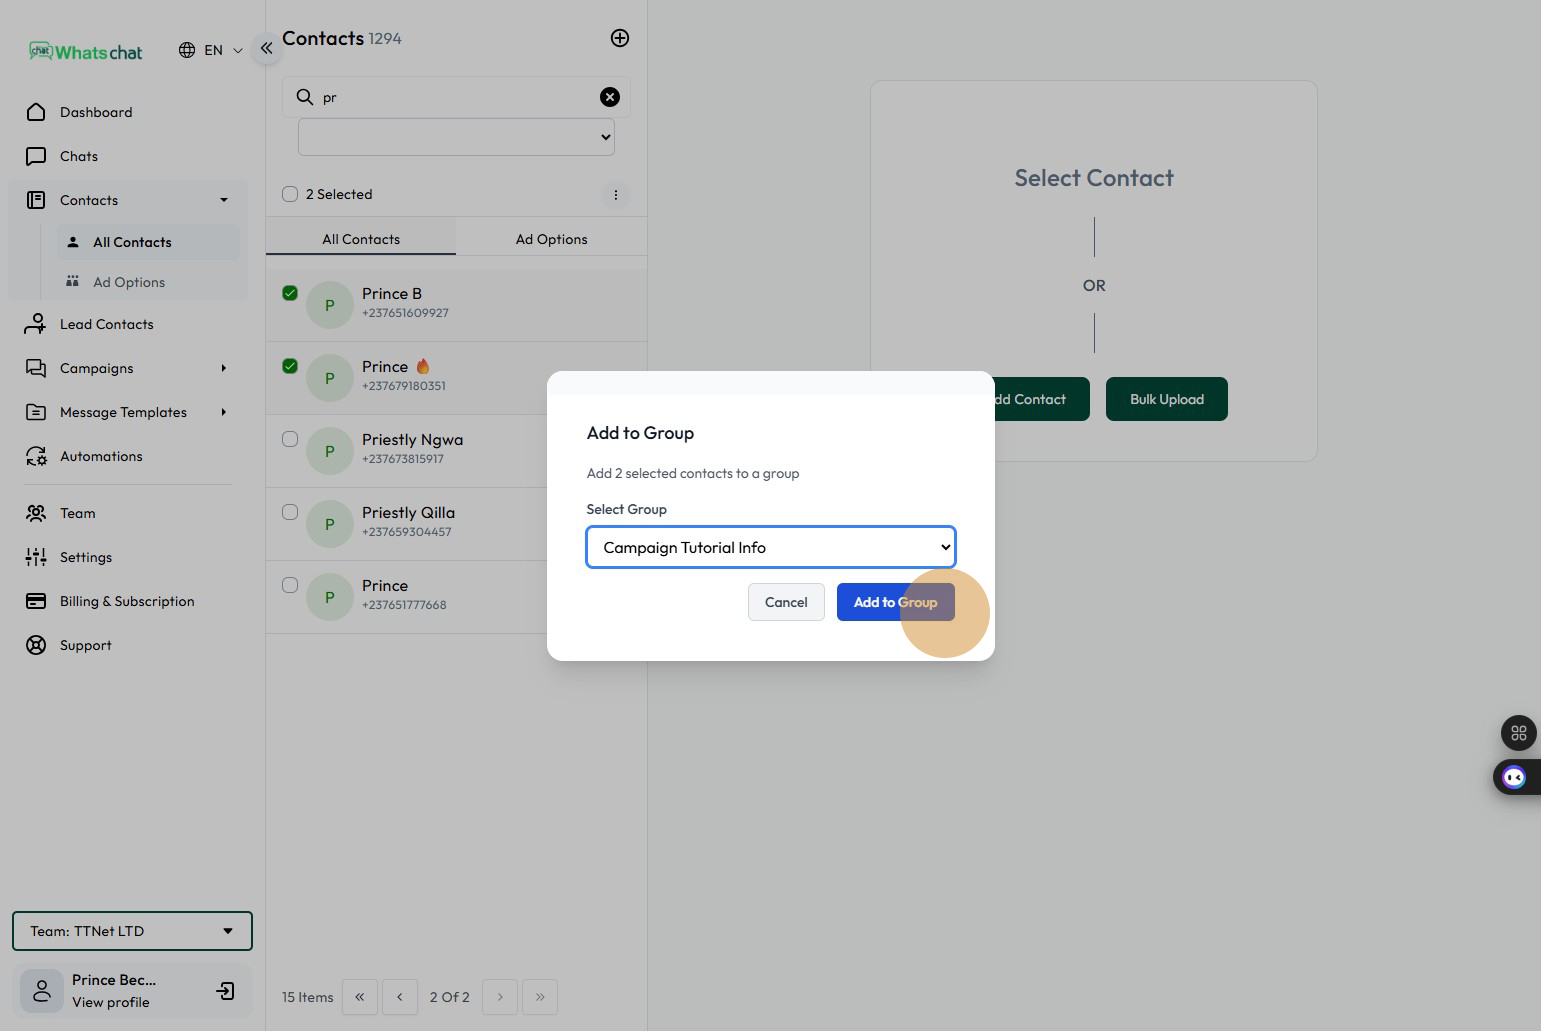
Step 14: Select the group you want to add contacts to and click the “Add to Group” button
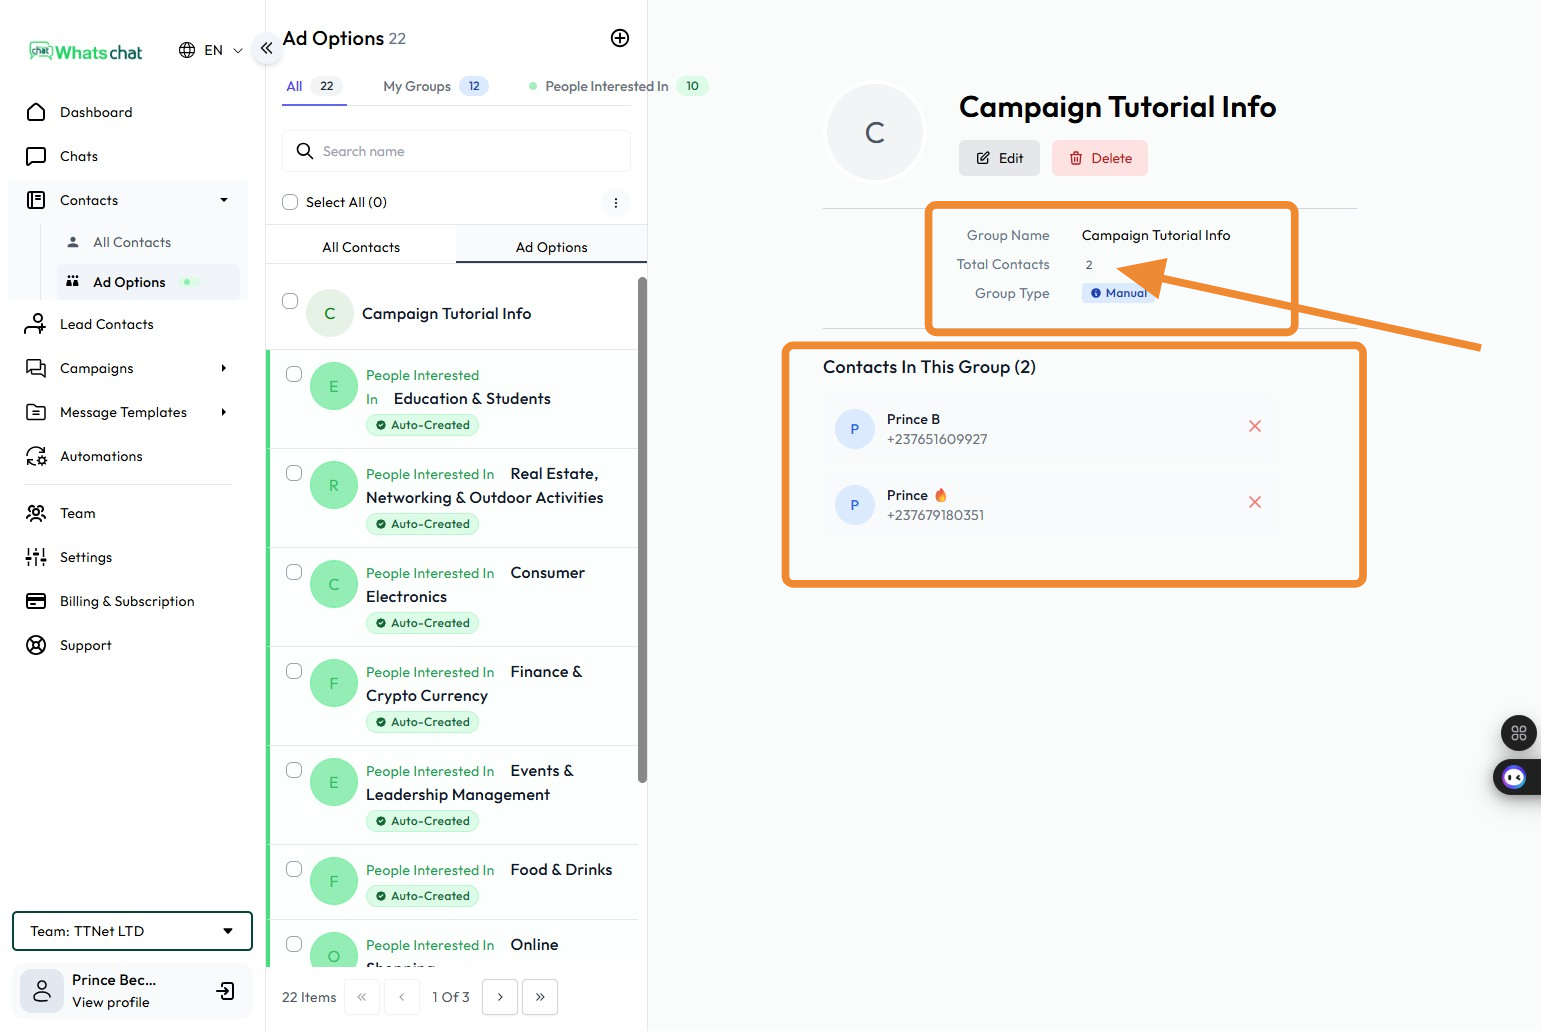
Step 15: Click the new group we created
Step 16: Shows the group and the total contacts in that group
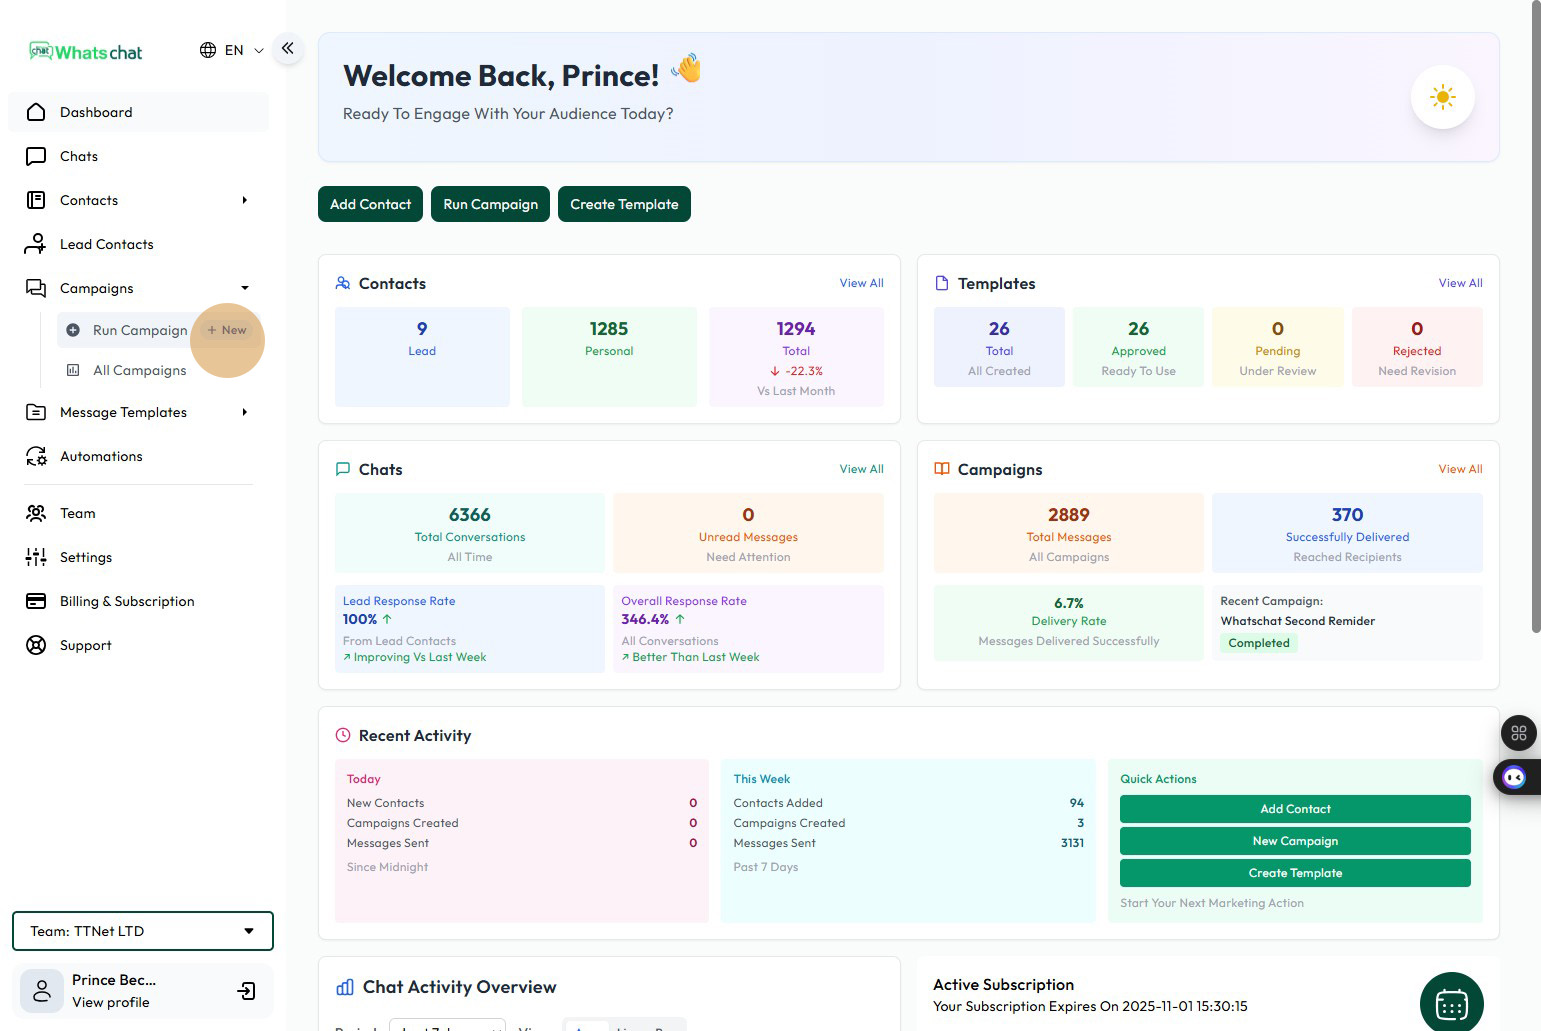
Step 17: Now let’s run our first campaign, Click the “Campaigns” Button

Step 18: Click “Run Campaign”
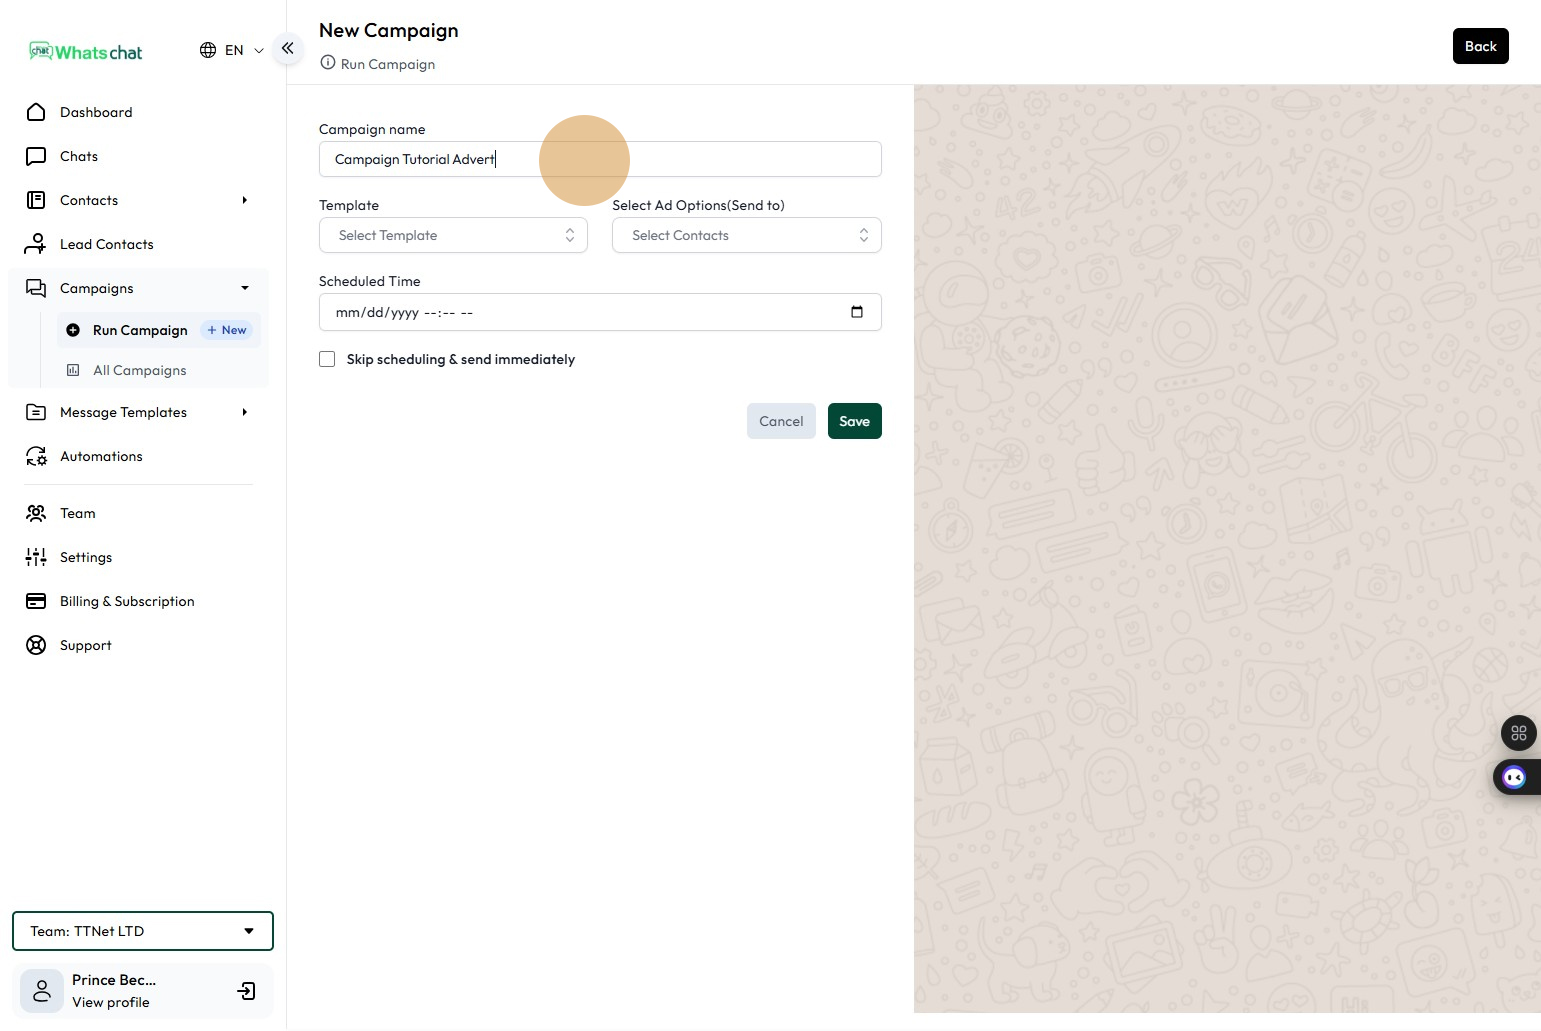
Step 19: Type Campaign Name
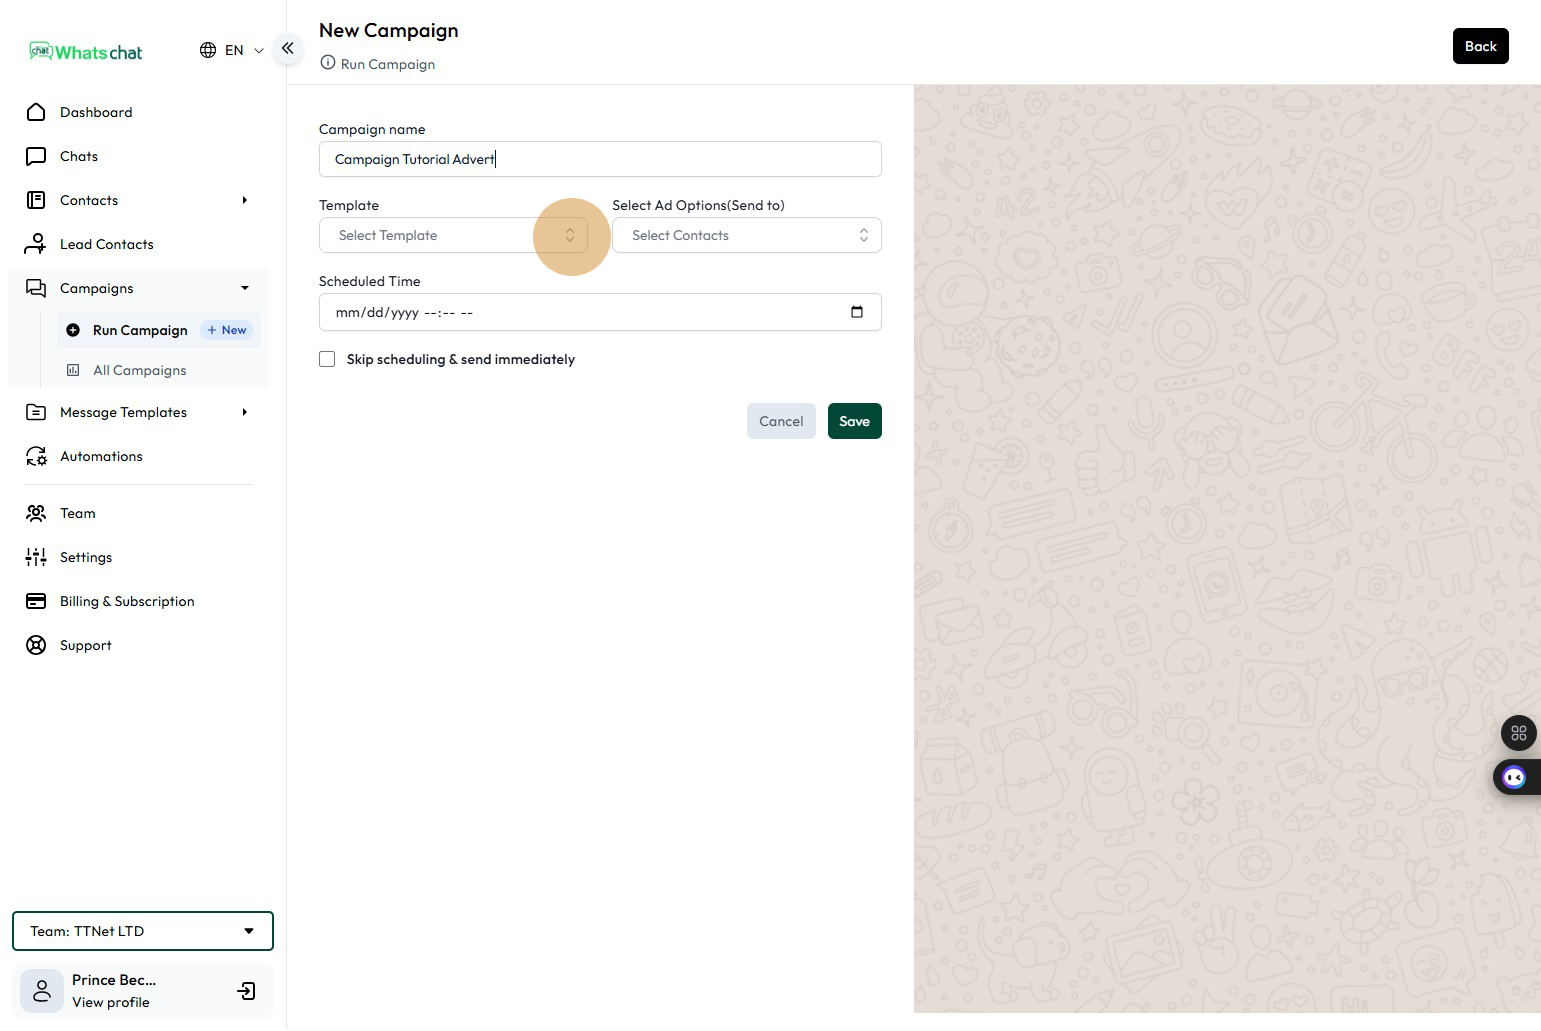
Step 20: Select Template (from our previous guide, we created a template, follow the “How to create message template on WhatsChat” Guide if you don’t know how to create one)
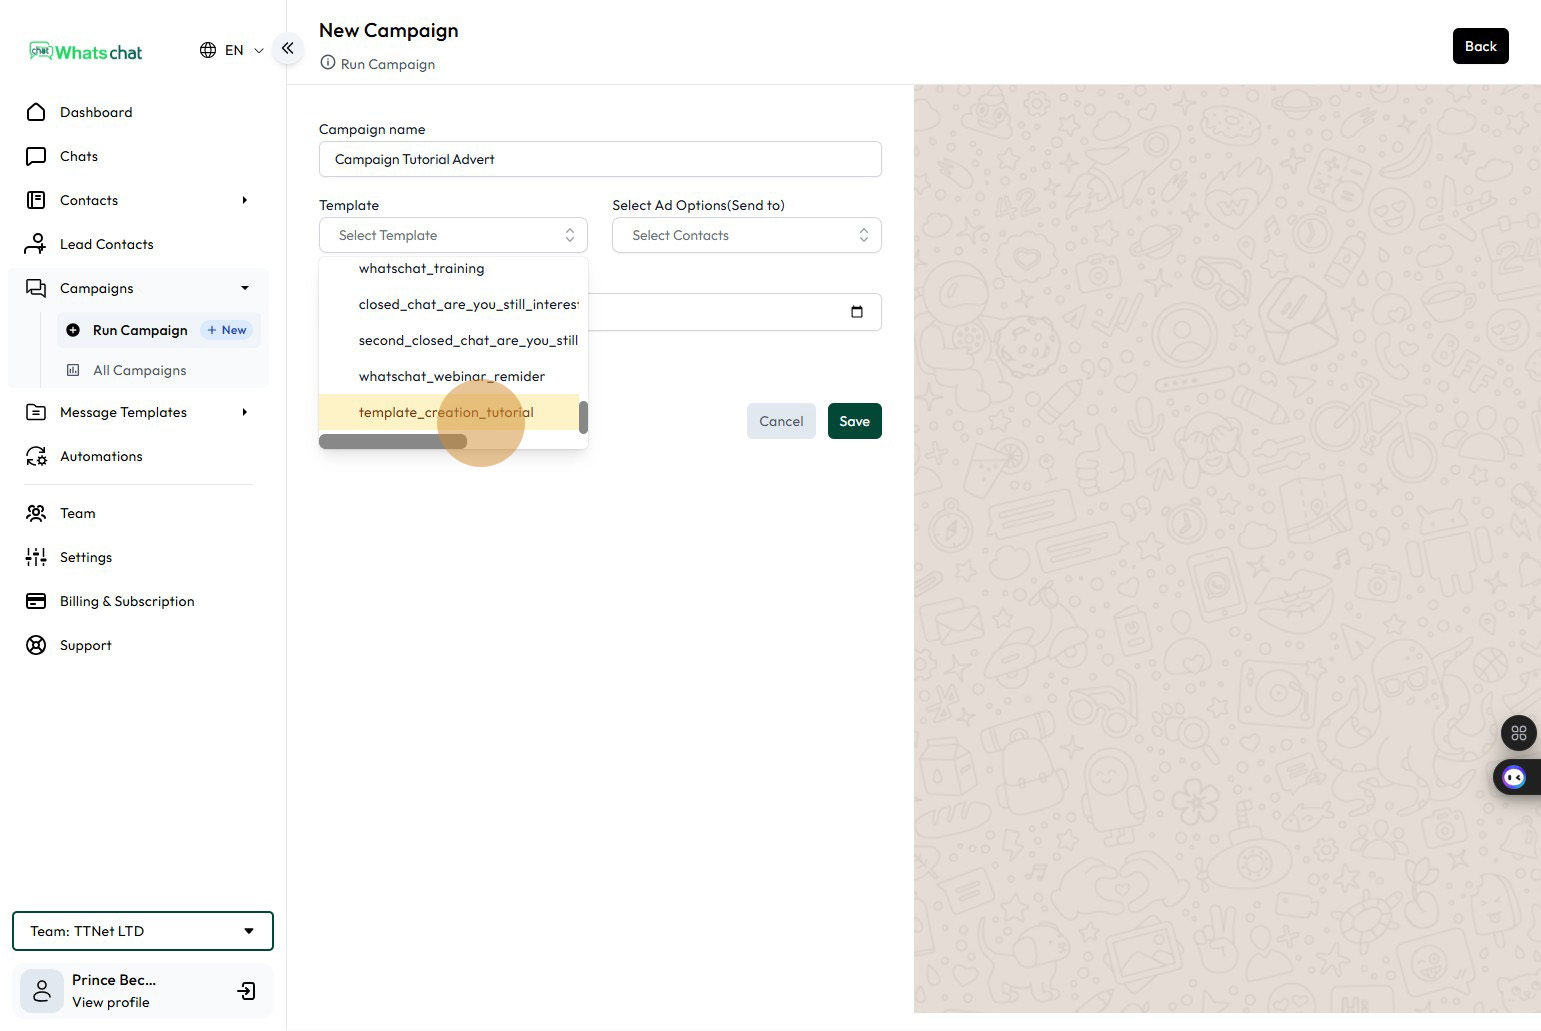
Step 21: Click “template_creation_tutorial)
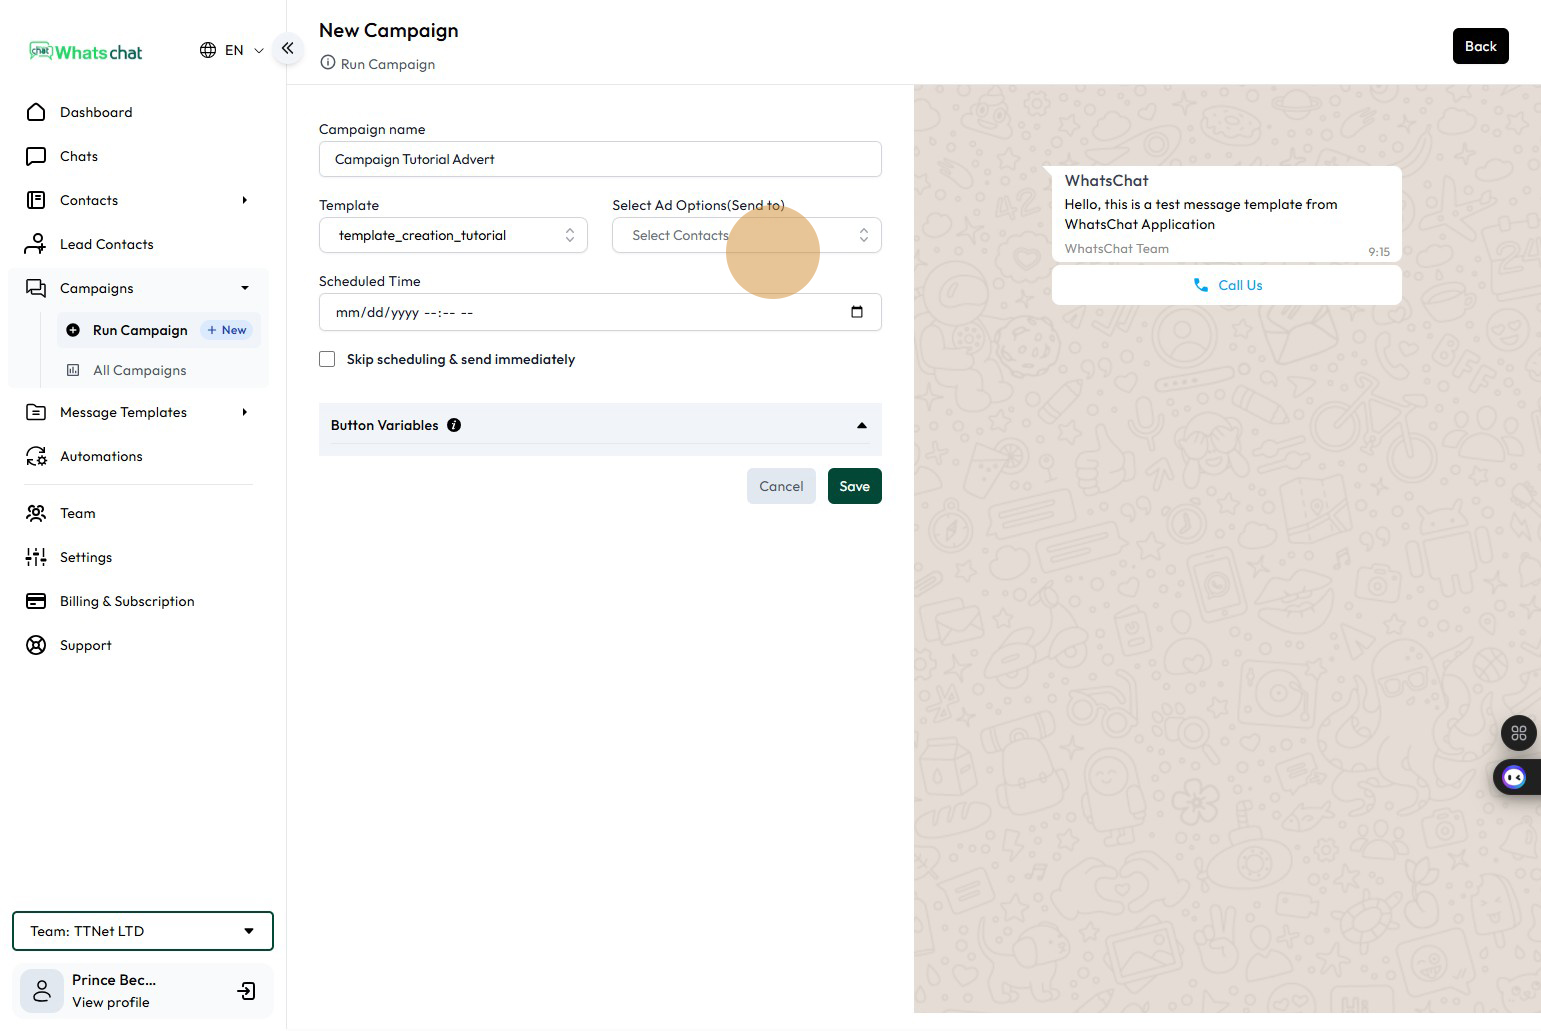
Step 22: Click the “Select Contacts”
Step 23: Select the Group(Ad Option) we created earlier on step 7

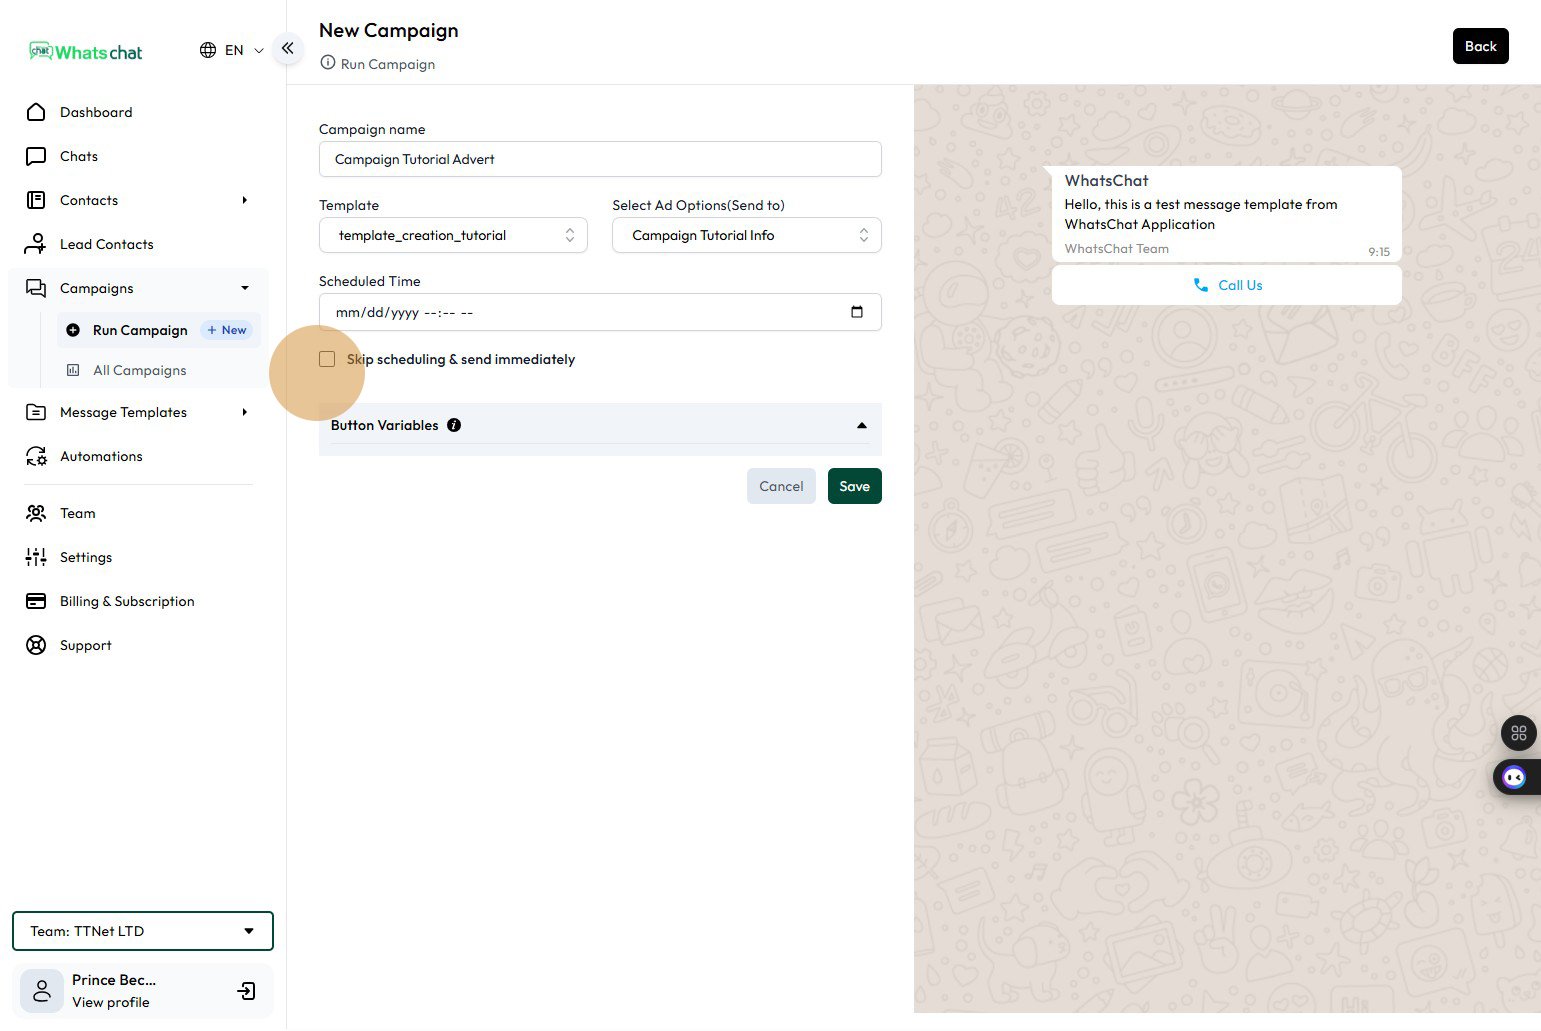
Step 24: Click the “Skip scheduling & send immediately” button if you intend to run the campaign immediately.
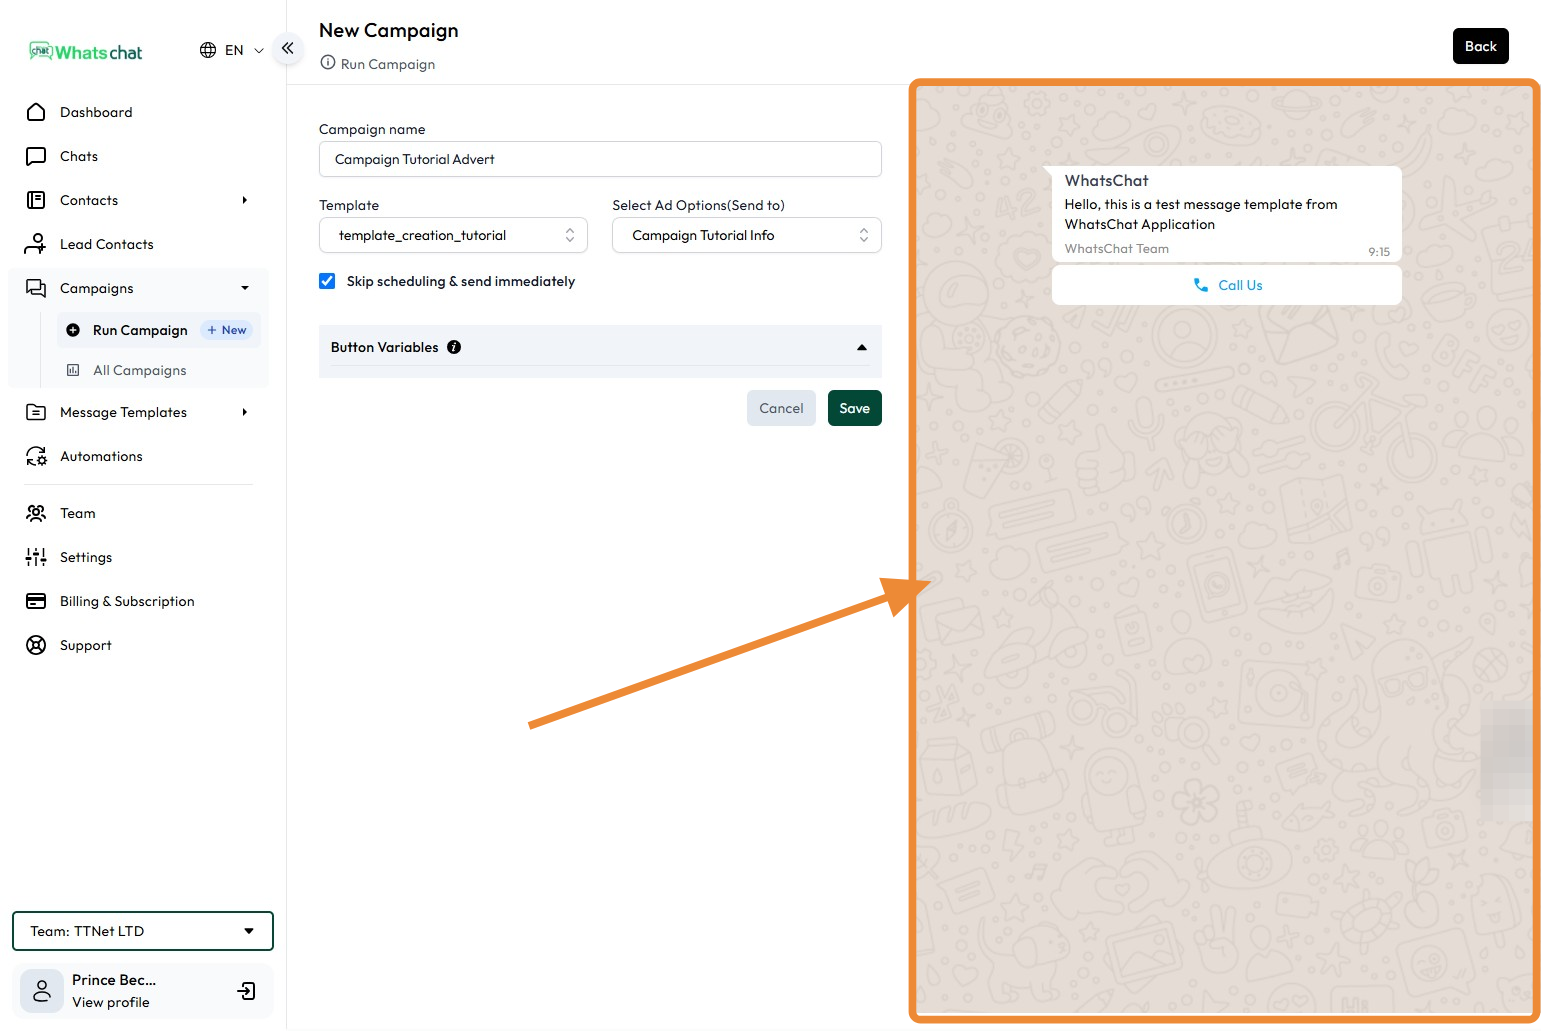
Step 25: On the right side of the page is a preview of how your message will appear on you recipient device
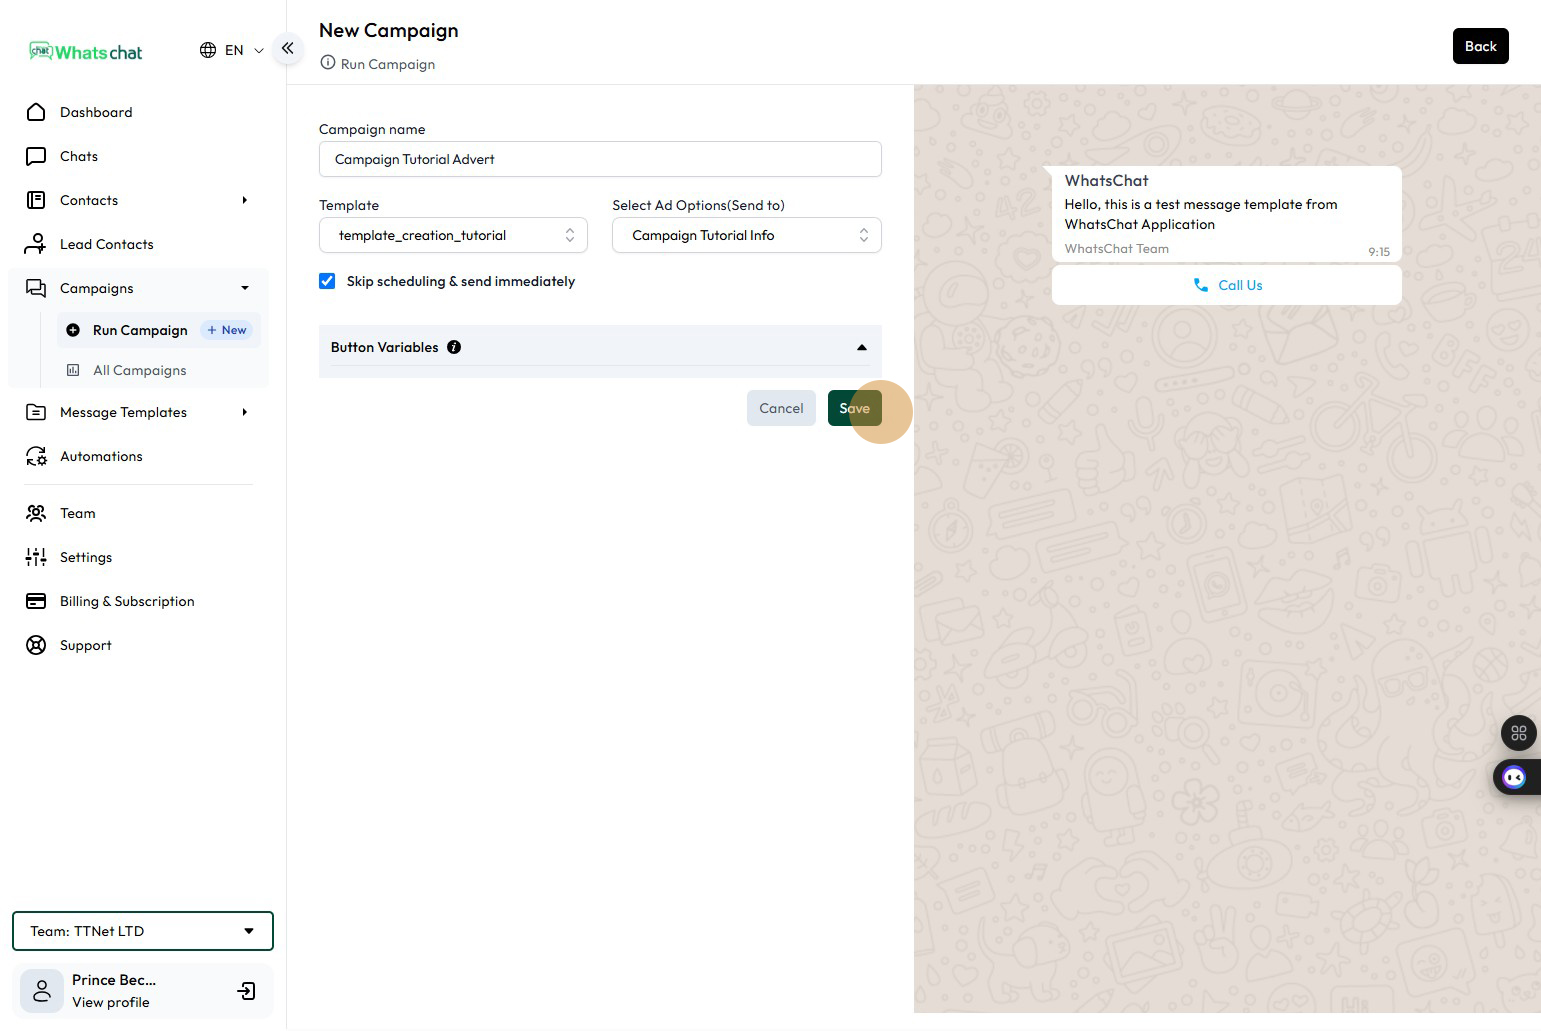
Step 26: Click the “Save” button
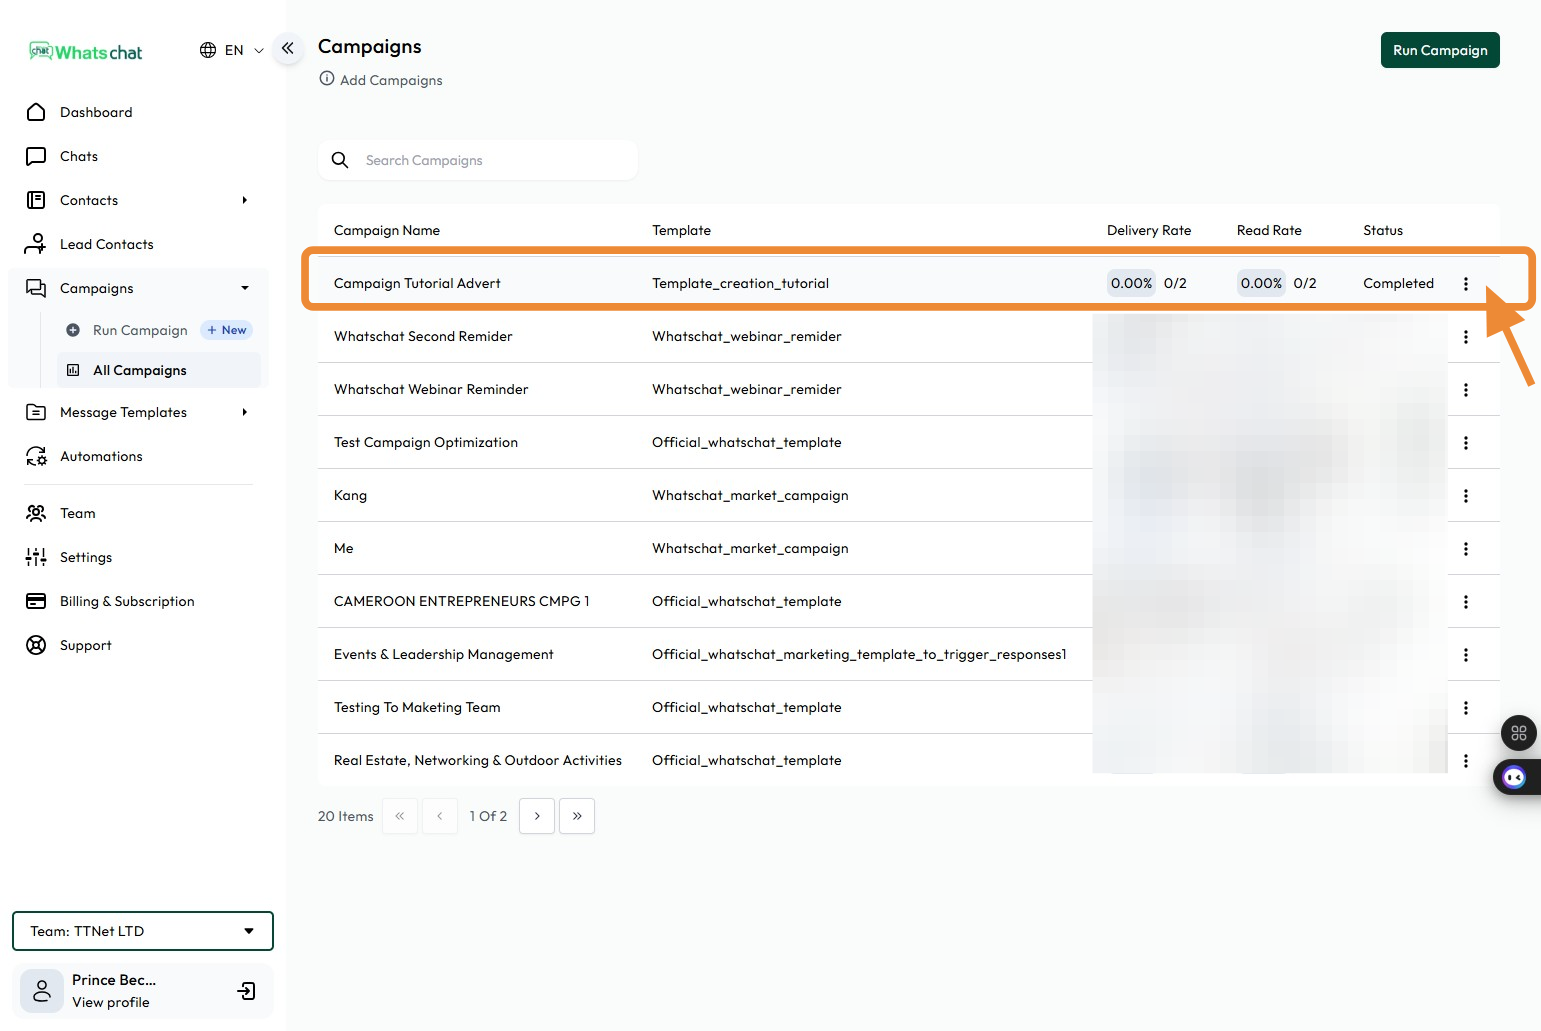
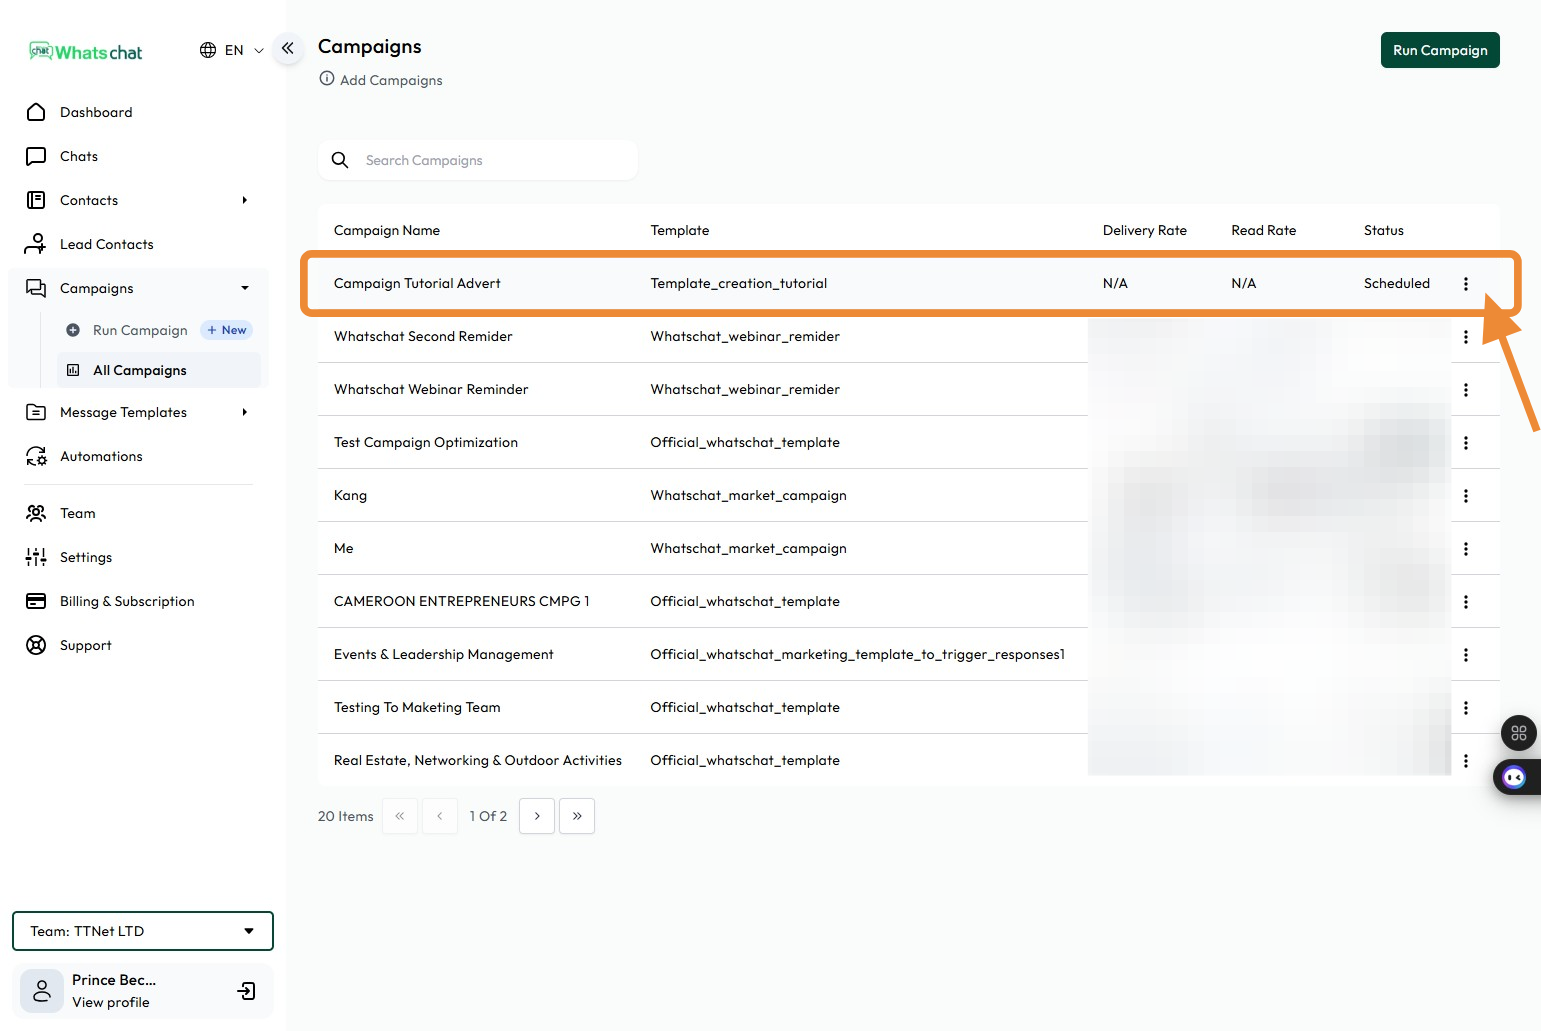
Step 27: Campaign has be successfully created, and scheduled to run
Step 28: Campaign is now completed